VoyagerRFv2
An upgraded version of the VoyagerRF (ESP32 WiFi Devboard for Flipper Zero) with GPS.
Page index
Related tools
Intro
The VoyagerRFv1 was a great project, I really enjoyed exploring and learning along with the Marauder firmware developed by justcallmekoko. It’s been almost a year since the first version came out and some awesome updates were developed in the firmware: evilportal, GPS Module for Wardriving, Bluetooth tools, etc. The VoyagerRFv1 was a great base to support some of those, first, the evilportal was working with the MicroSD card slot and second, the Bluetooth tools were supported since the Xiao ESP32-C3 has BLE.
I was thinking about getting some upgrades, mainly with a better form factor, a GPS module and the famous NeoPixel LED for the status. And that’s how VoyagerRFv2 was born: harder, better, faster, stronger.
Let’s recap the new features of this v2 version:
- ⚡️ Ready for Ghost_ESP Firmware: Now the VoyagerRFv2 board supports Ghost_ESP, you can use the Web Flasher to easily change/update your firmware.
- ⚡️ New GPS module and antenna: The ATGM336H GPS module is connected to the ESP32C3, which allows the Marauder firmware to collect GeoPositioning information on wardriving mode. This mode saves the location and WiFi SSID (among other data) in the VoyagerRF’s MicroSD card with a certain file formatthat can be uploaded on websites such as wigle.net.
- ⚡️ New NeoPixel status LED: This RGB LED will indicate the status of the Marauder firmware. Blue for sniffing and red for attack mode. You can also set manually the HEX code for the LED or flex it with the raimbow mode.
- ⚡️ New Even more compact design, removing the side cable and making it smaller and more portable.
- ⚡️ New 3D Printed case: For people looking for a clean look, I designed a case and a base to store and carry your VoyagerRF everywhere. 3D models ready for printing are provided below. (To be honest, I prefer to see the PCB and components).
Inherited features from previous VoyagerRFv1:
- ✅ ESP32-C3: A low-consumption WiFi and Bluetooth chip with the latest Marauder firmware. This chip will allow you to perform all WiFi and Bluetooth tools deployed on marauder (including deauths, evilportal, sour apple, ble spam, etc). Ready to plug and play and control it with the ESP32 WiFi Marauder and Ghost ESP GPIO apps.
- ✅ MicroSD card slot to save the output from the Marauder app (already configured in the firmware) and different configuration files (for evilportal, for example).
- ✅ 3dBi Omnidirectional WiFi antenna (2.4GHz) mounted into the board’s SMA connector. Adds a great range improvement against the original devboard (PCB antenna).
- ✅ NRF24/CC1101 socket with decoupling capacitors for noise reduction. Compatible with External CC1101 configuration and NRF24 Sniffer/MouseJacker (see chip compatibility since not all chips have the same pinout).
Remember that the VoyagerRFv2 could be also updated via the Web Flasher following the steps in the website. Also, you can change from Marauder to Ghost_ESP easily.
I have units in stock. If you are interested in getting the board and other accessories, you can contact me. Check out the last section to see bundles and prices.
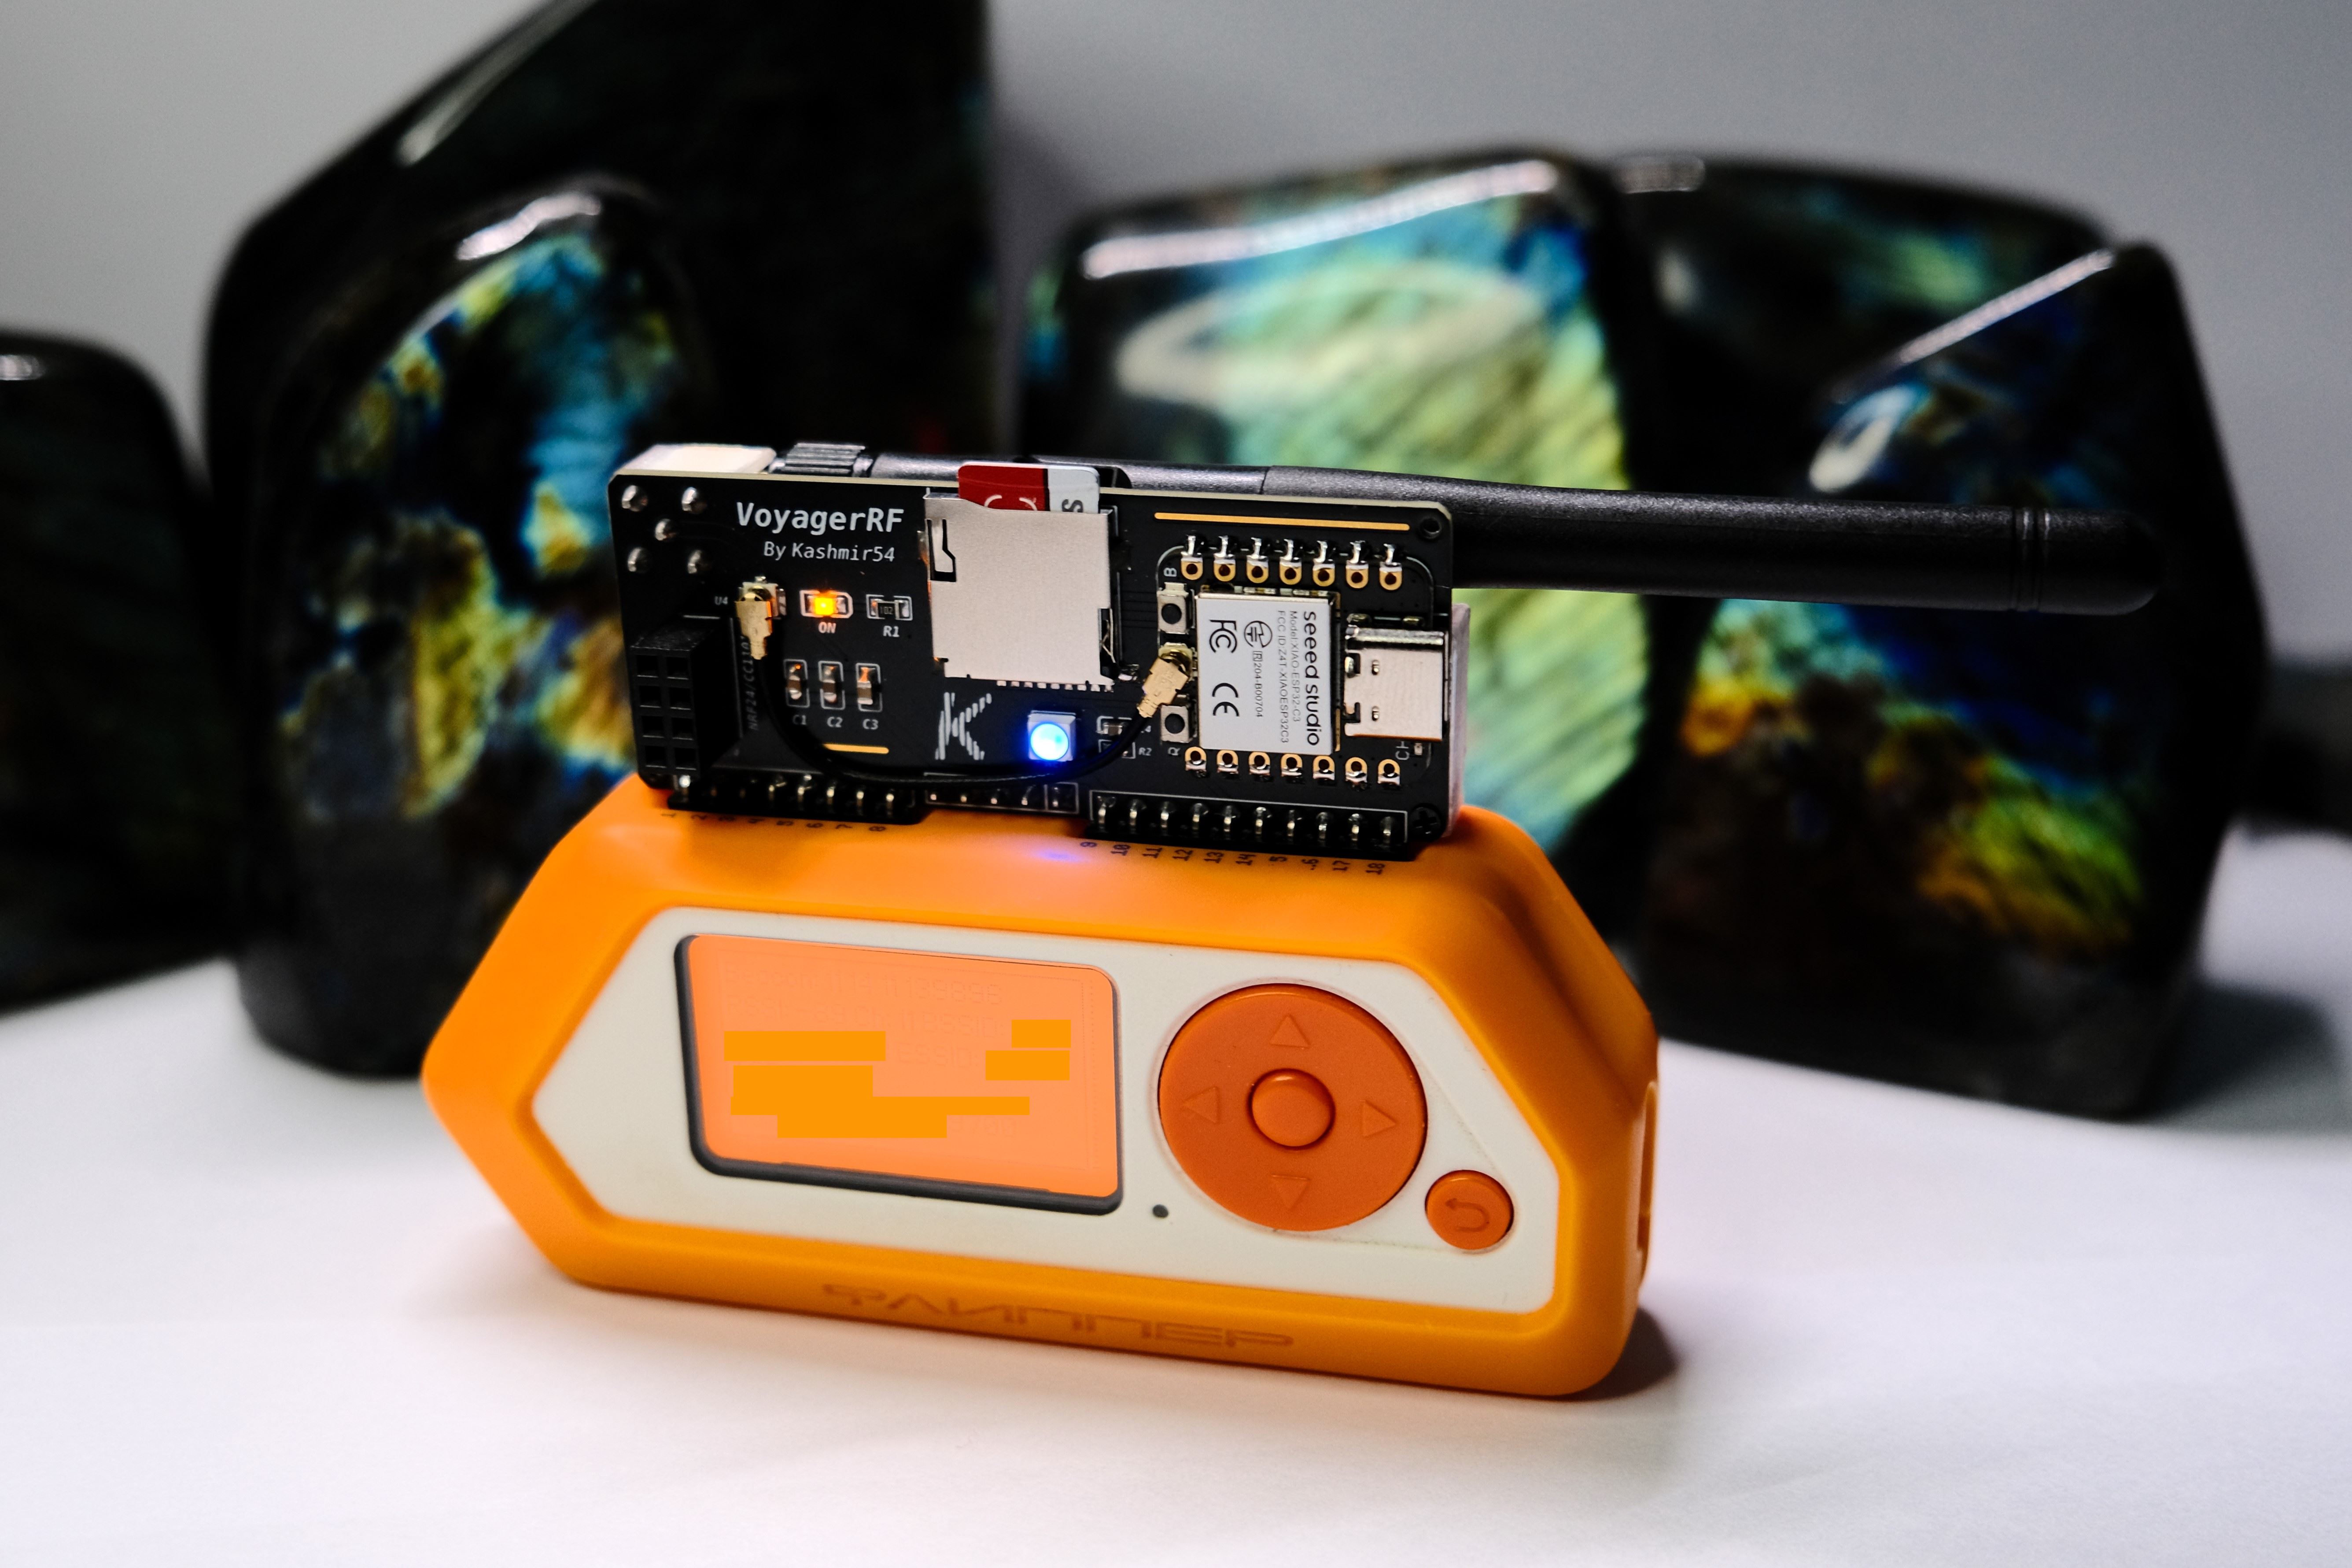
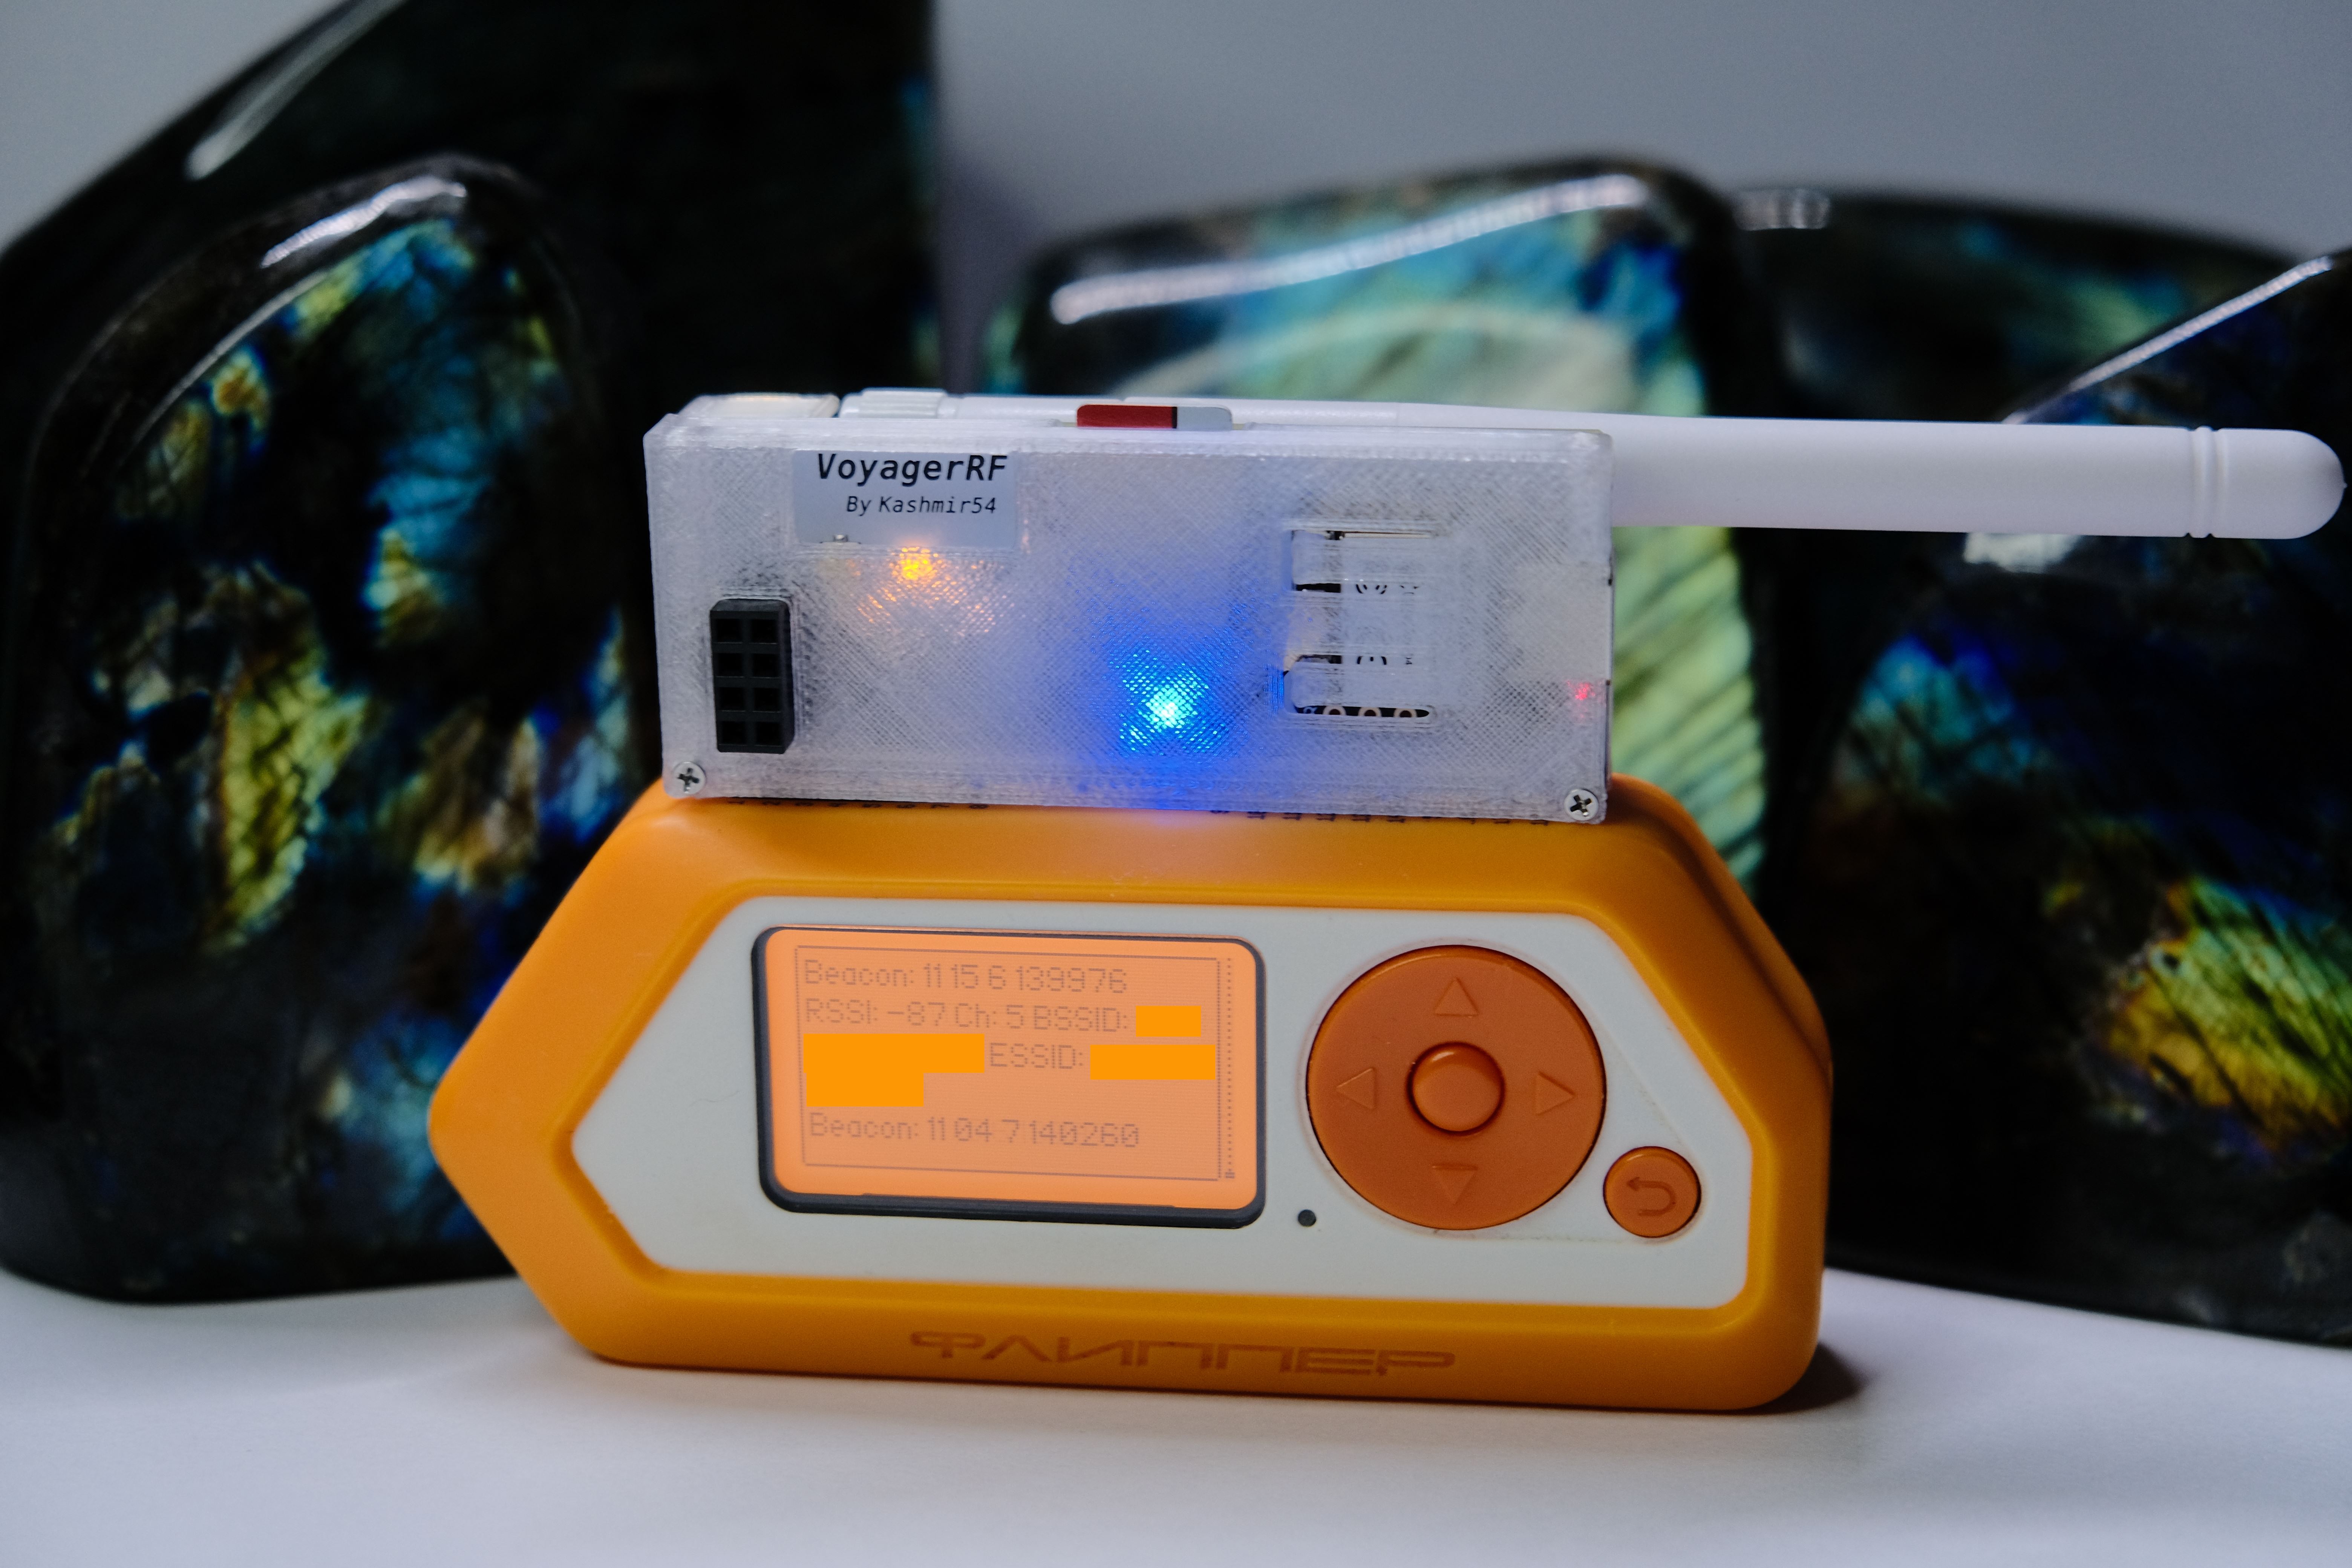
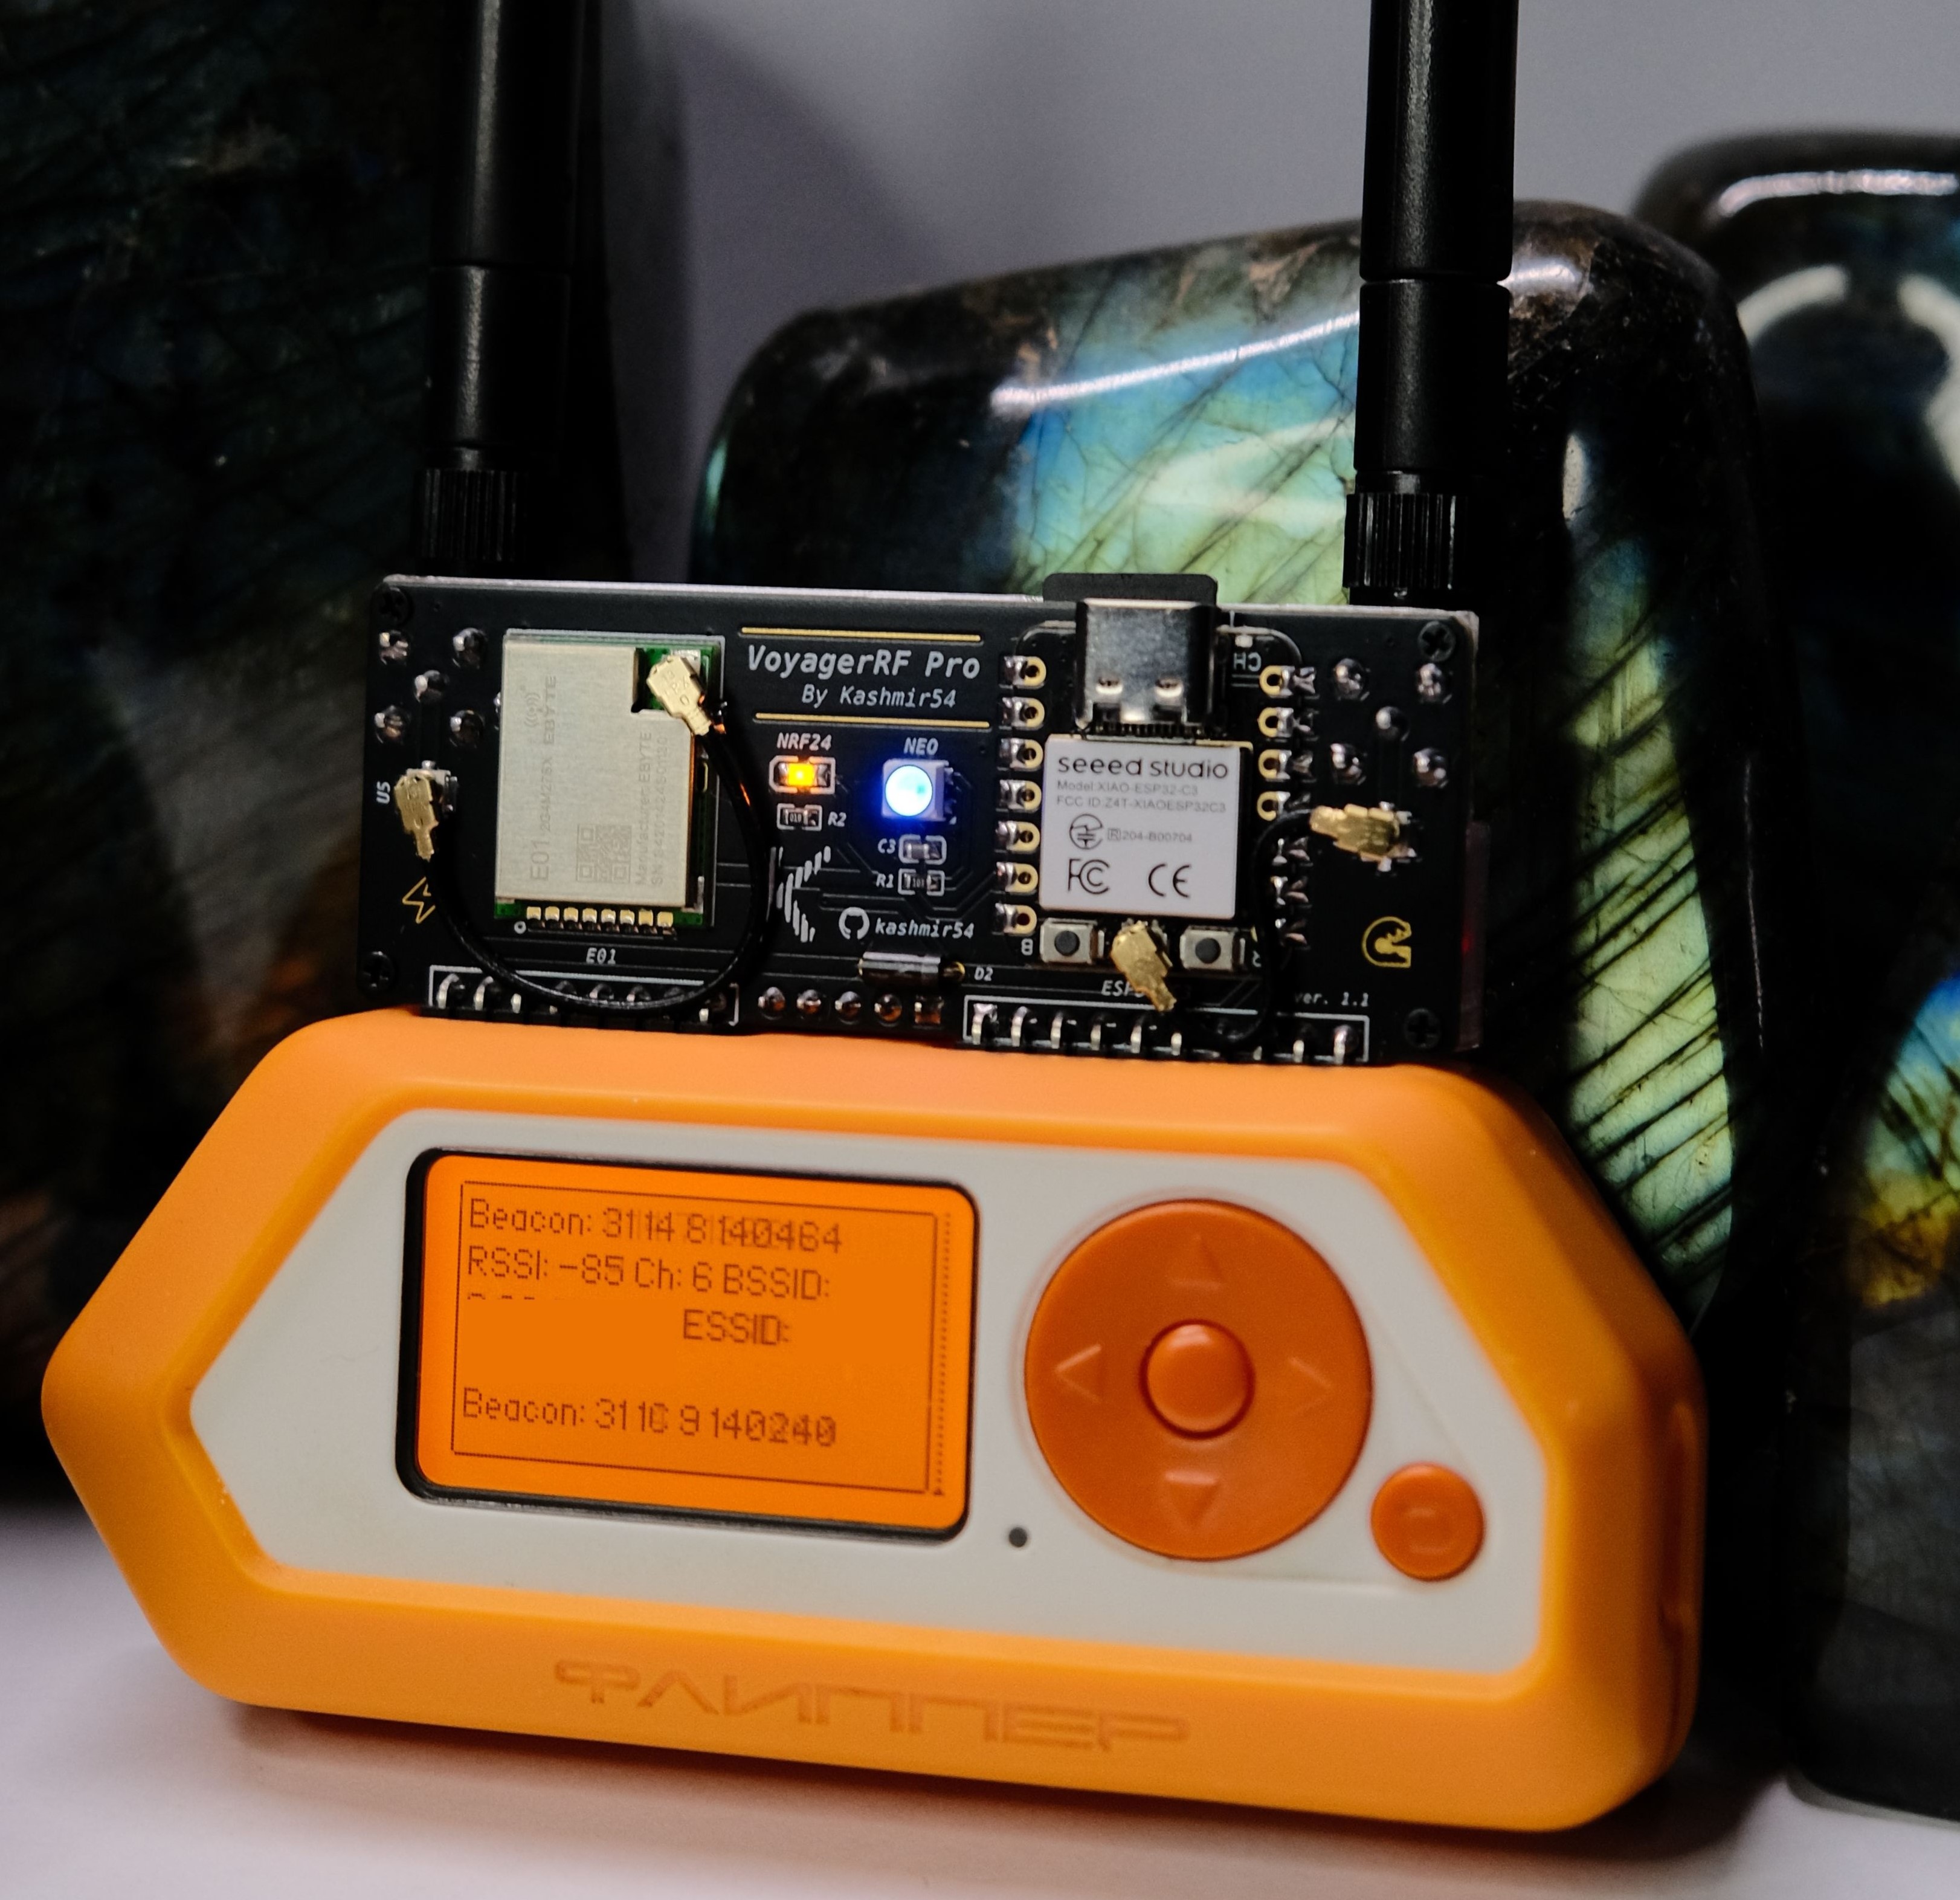
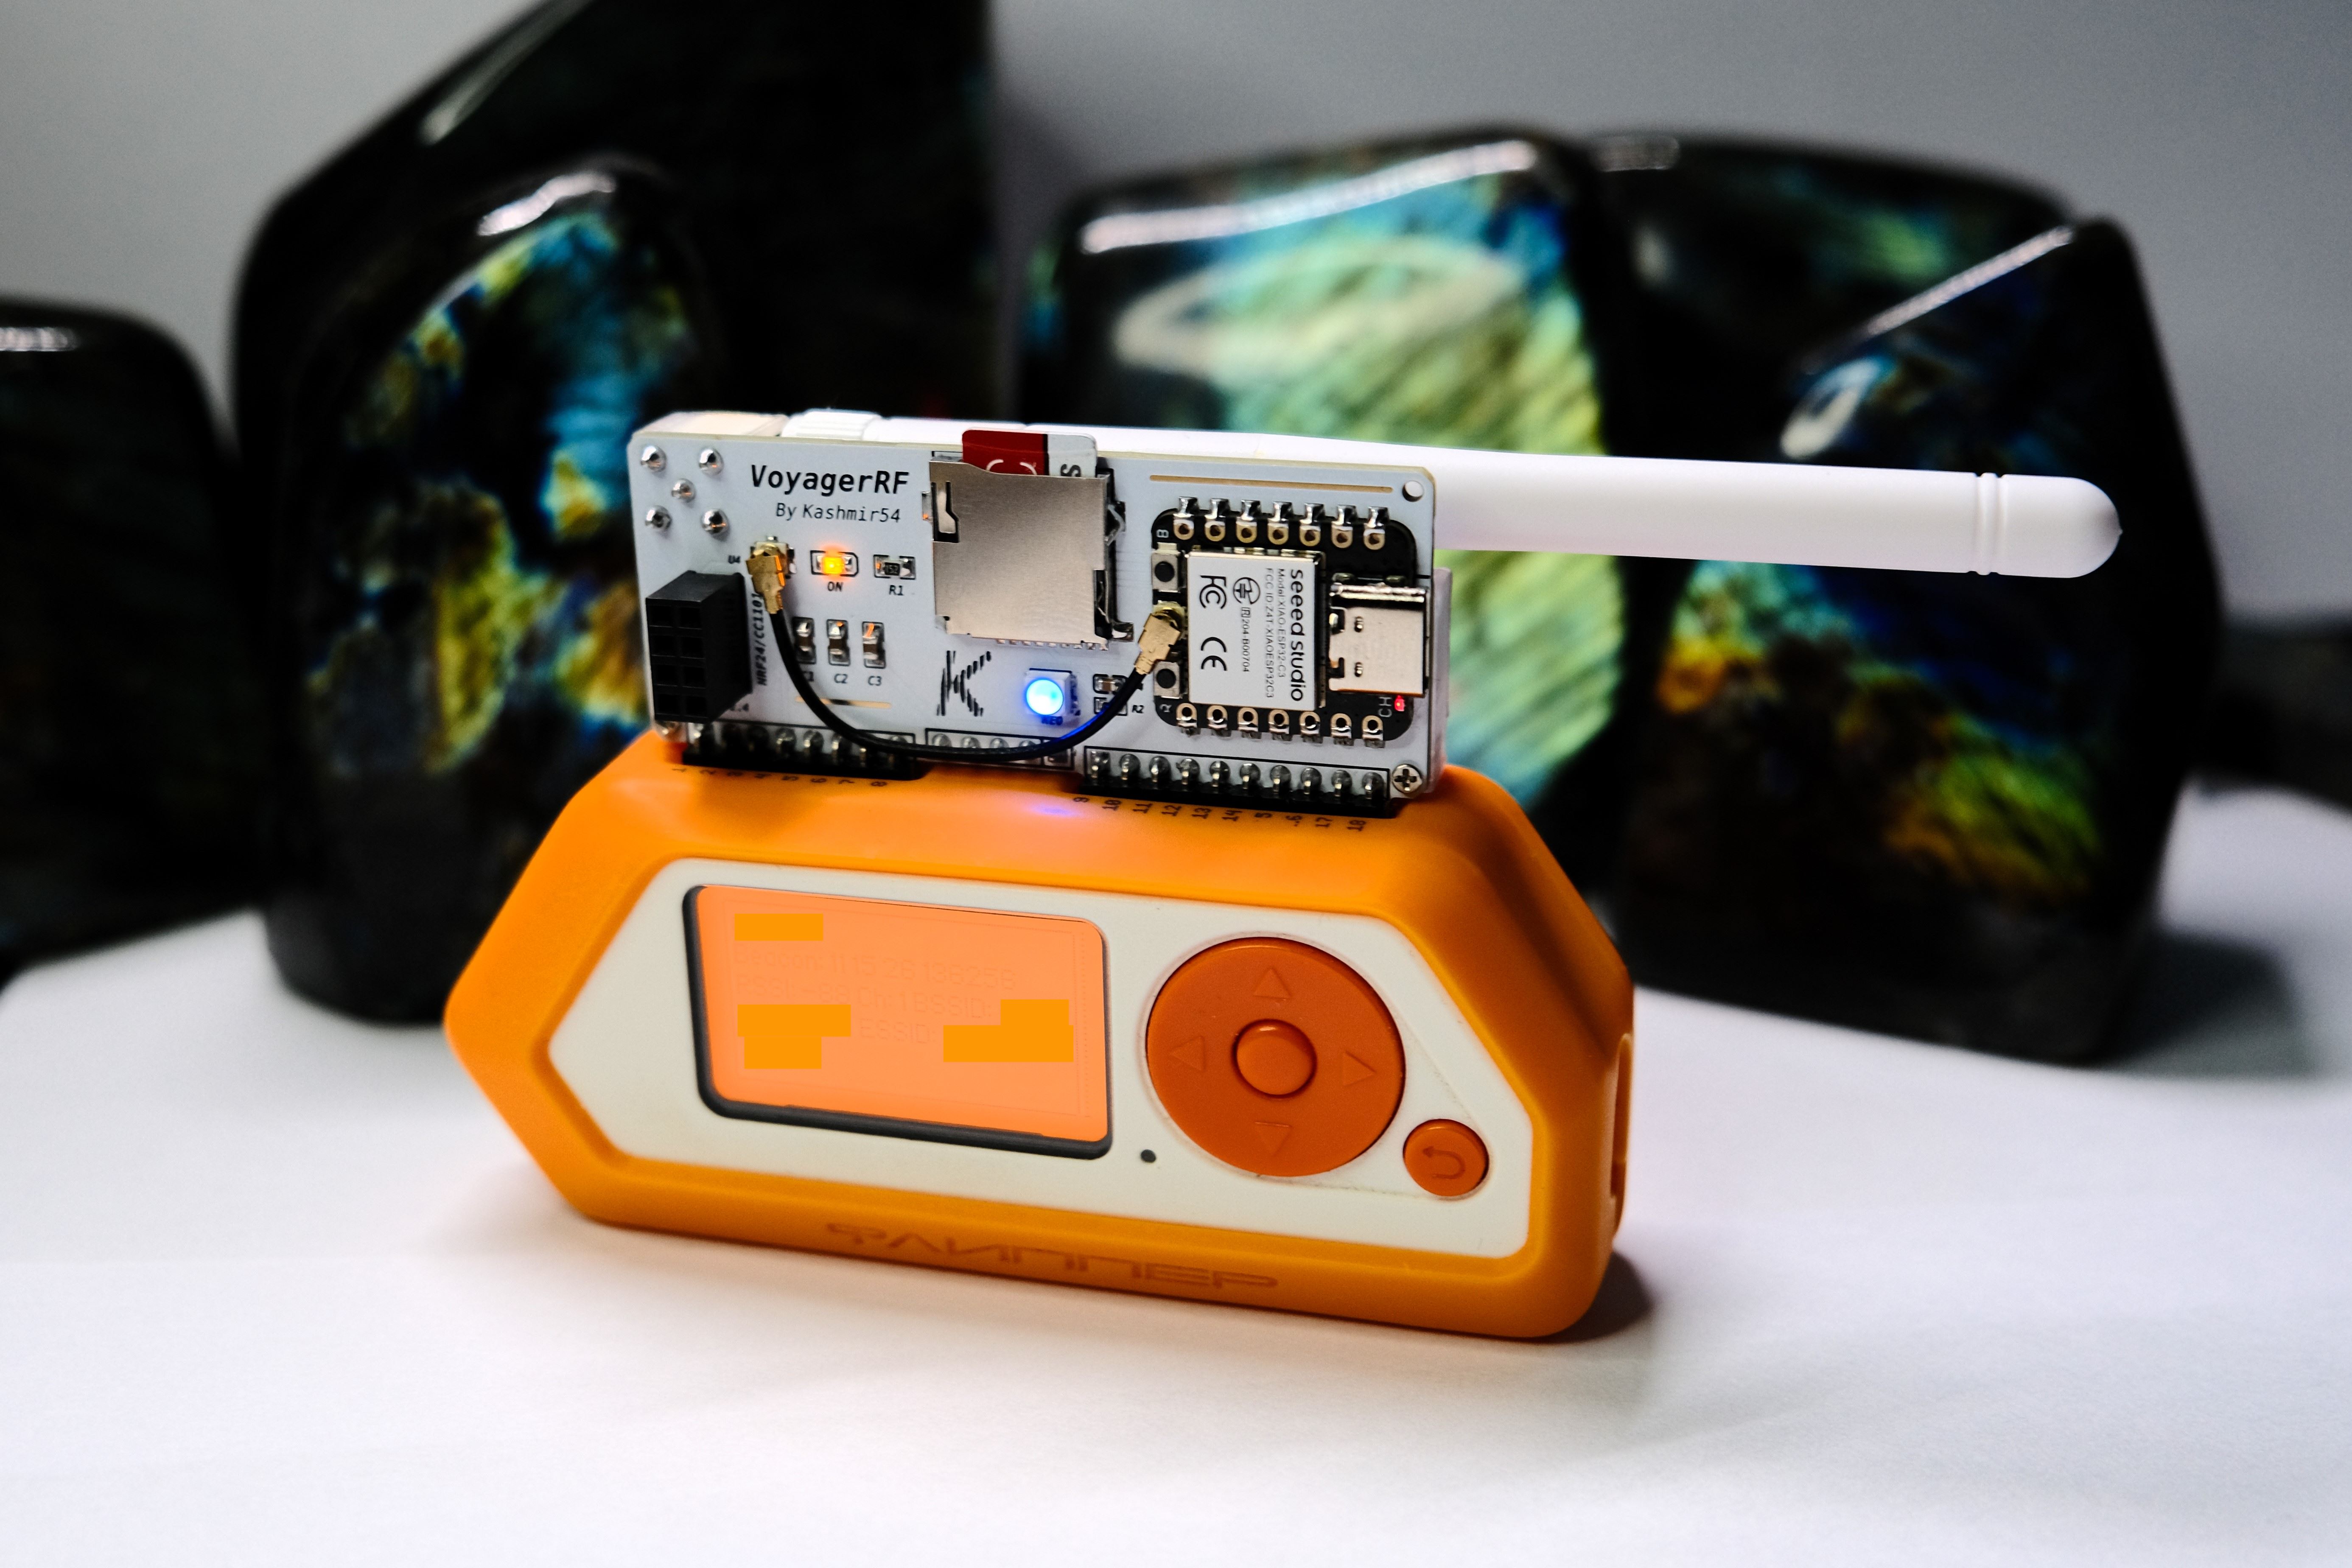
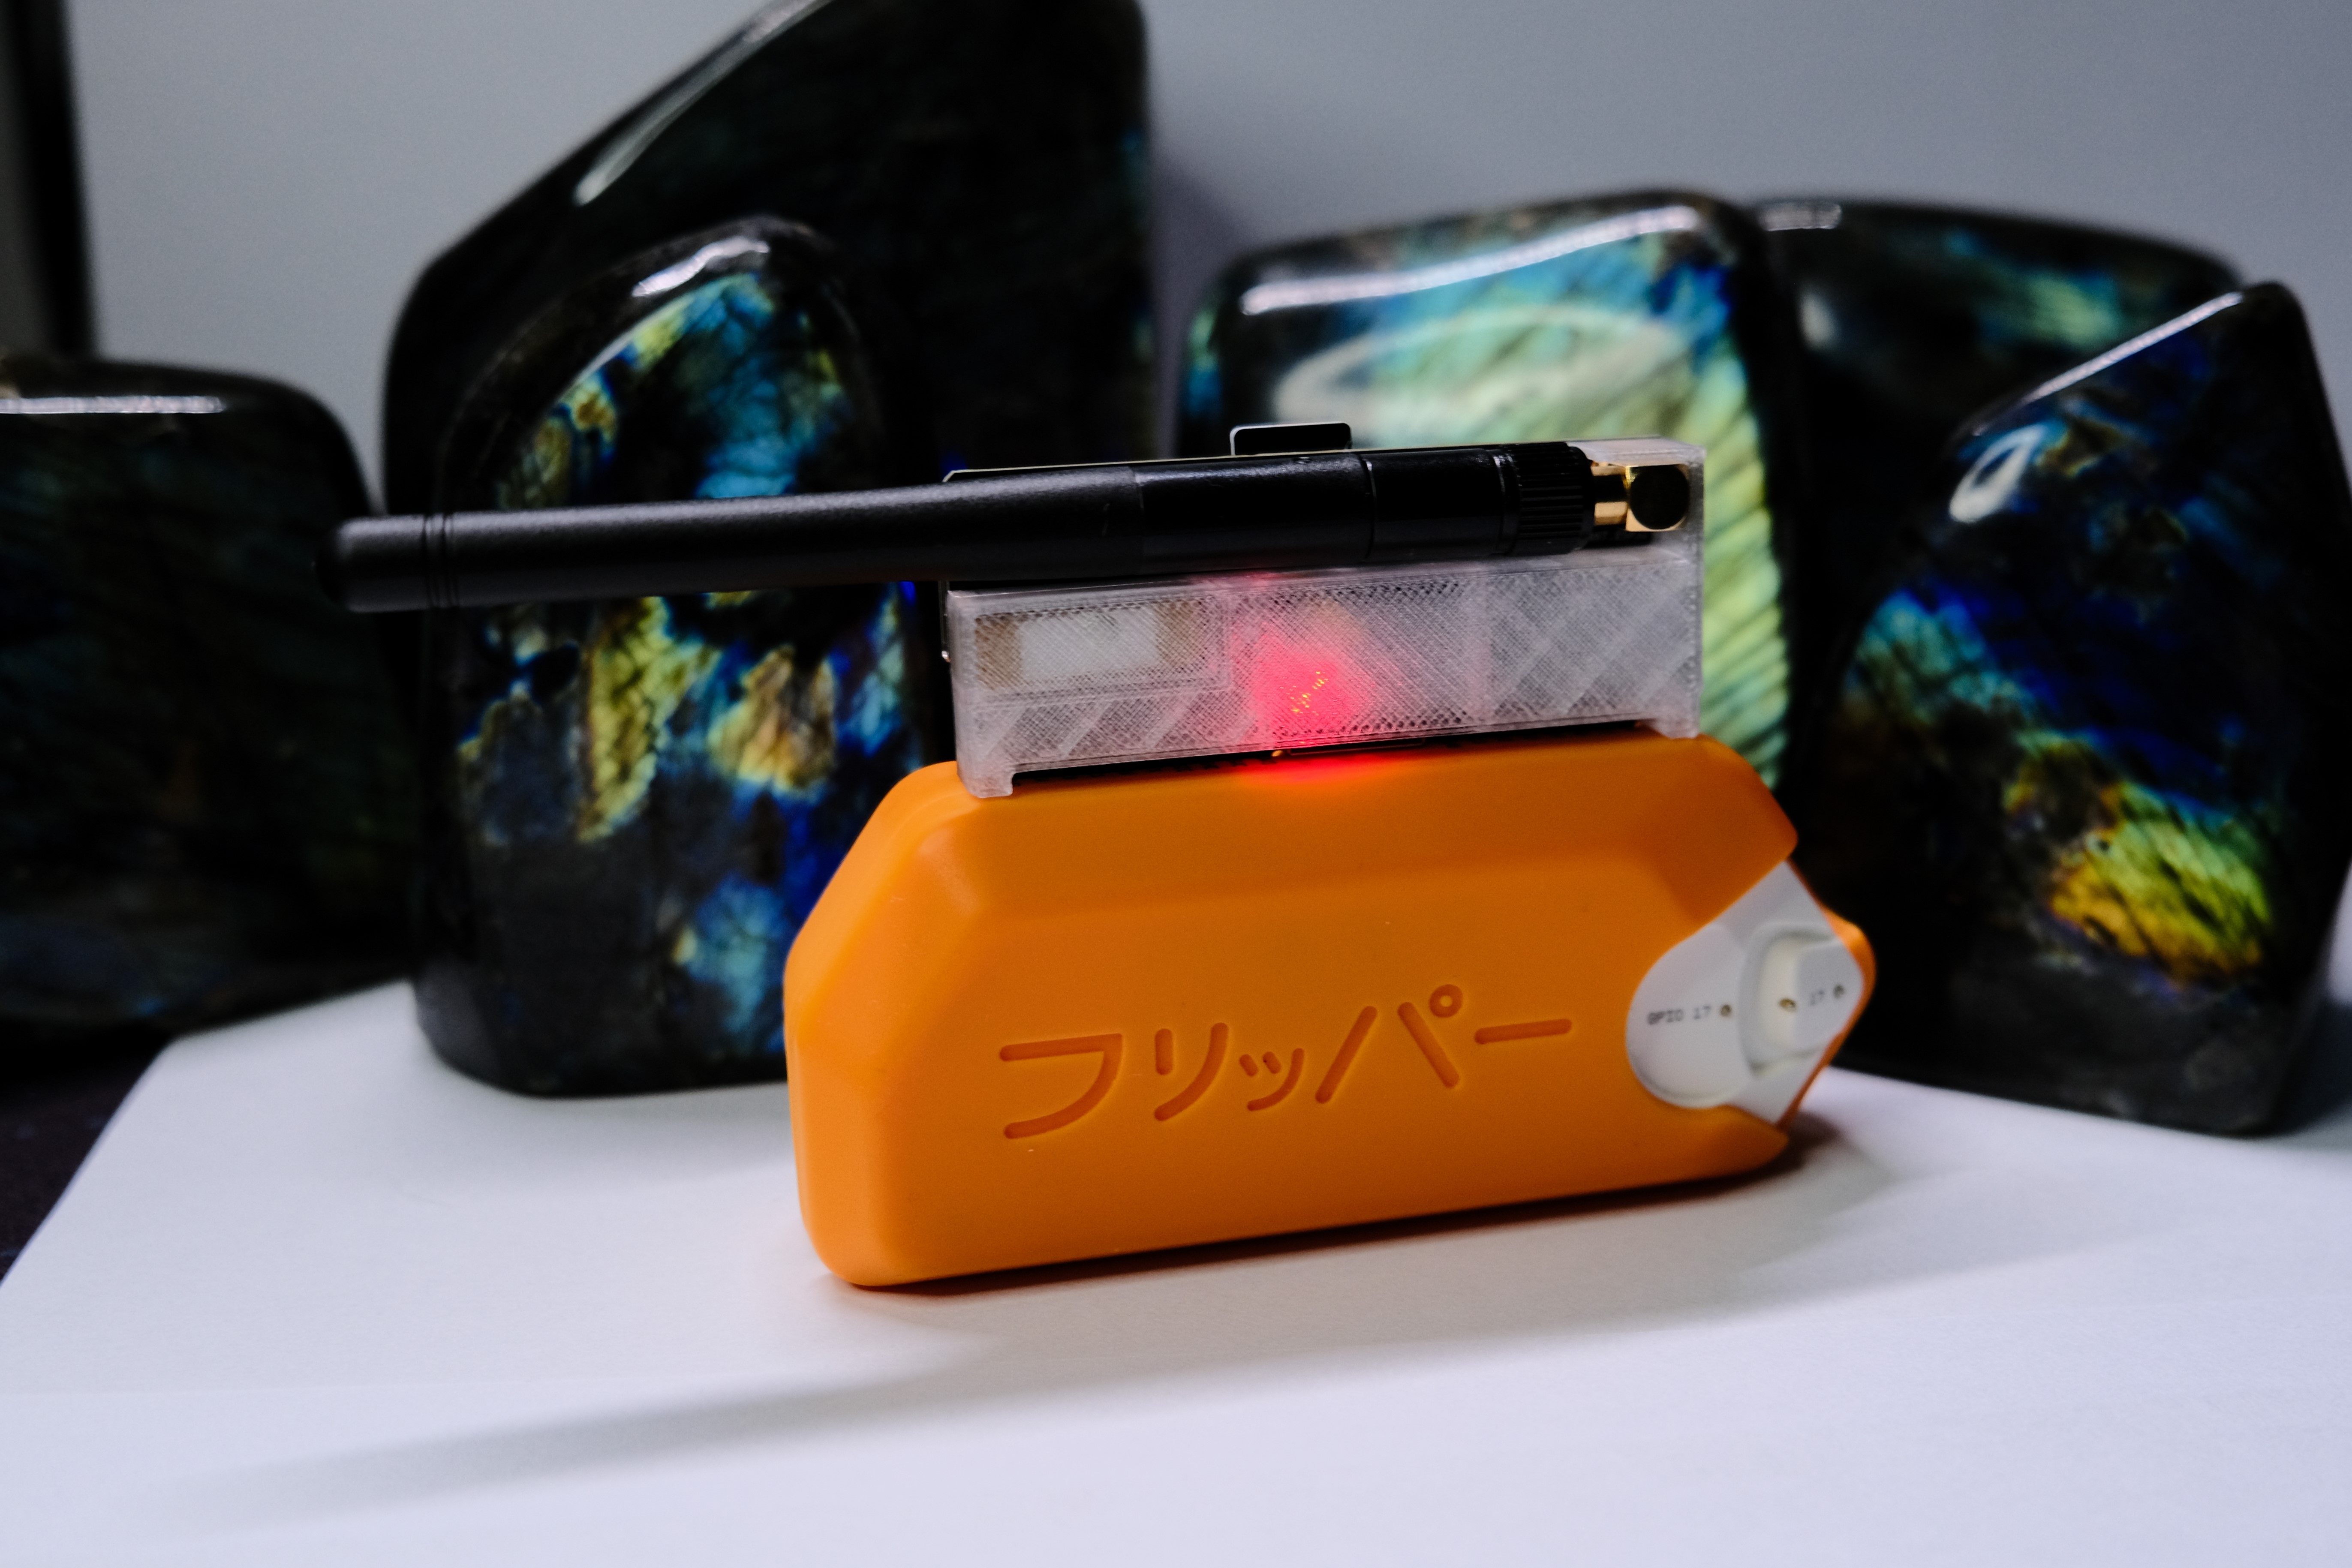
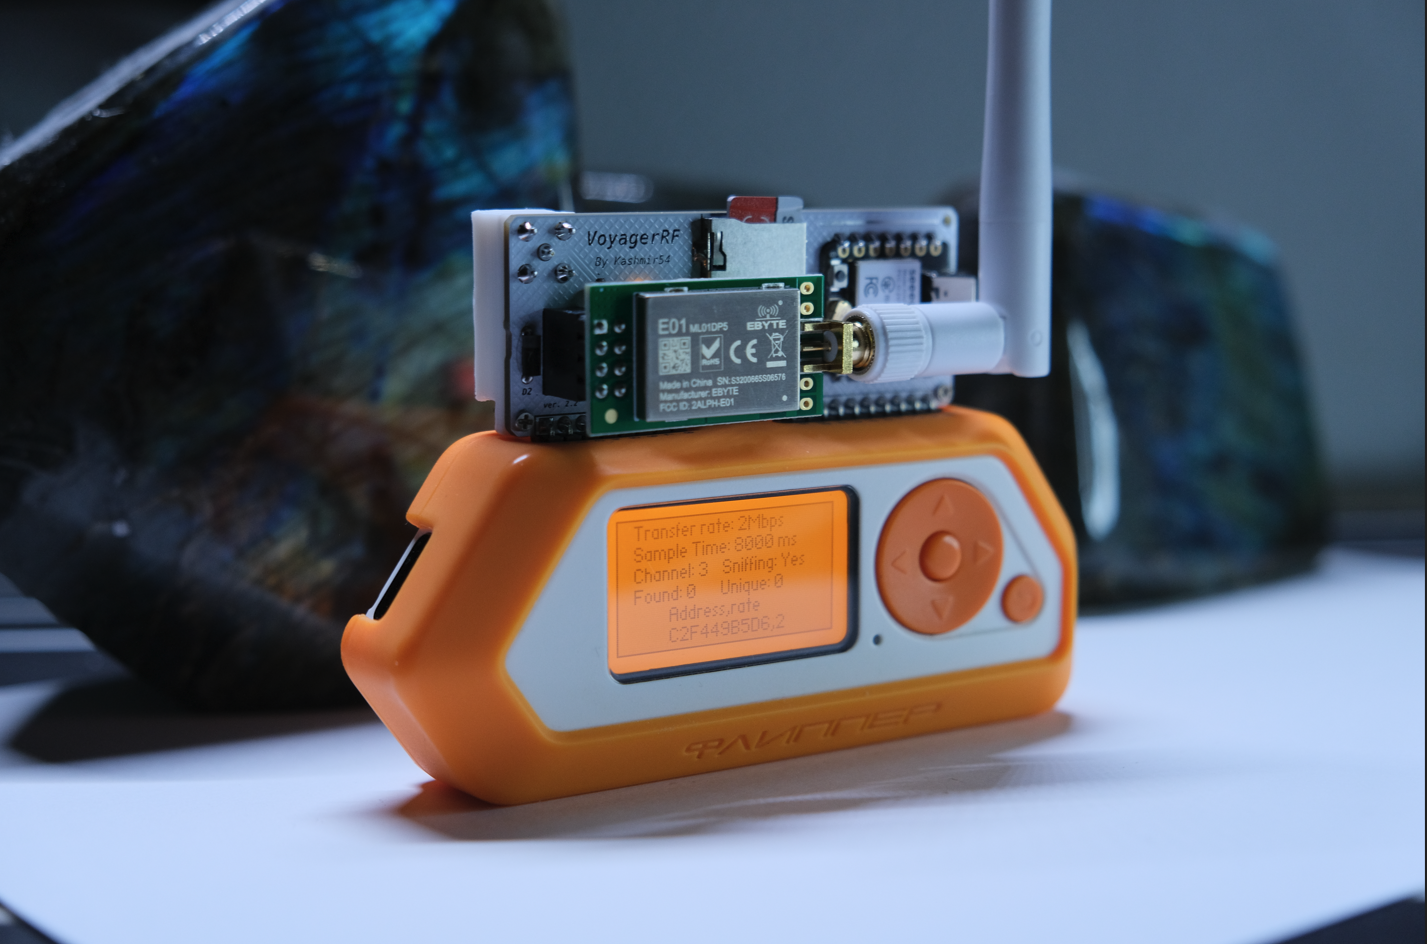
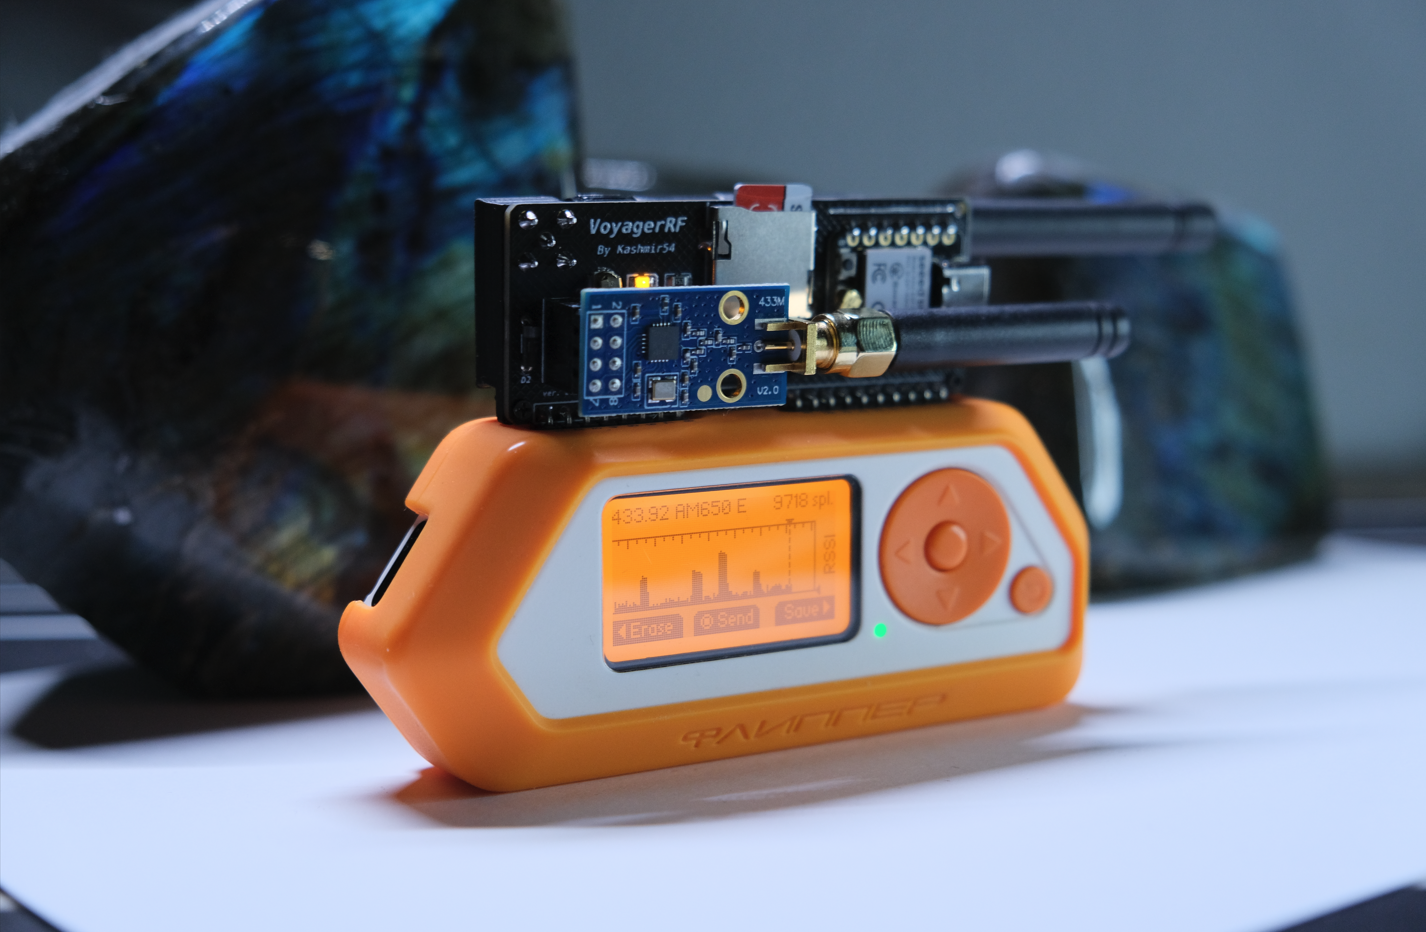
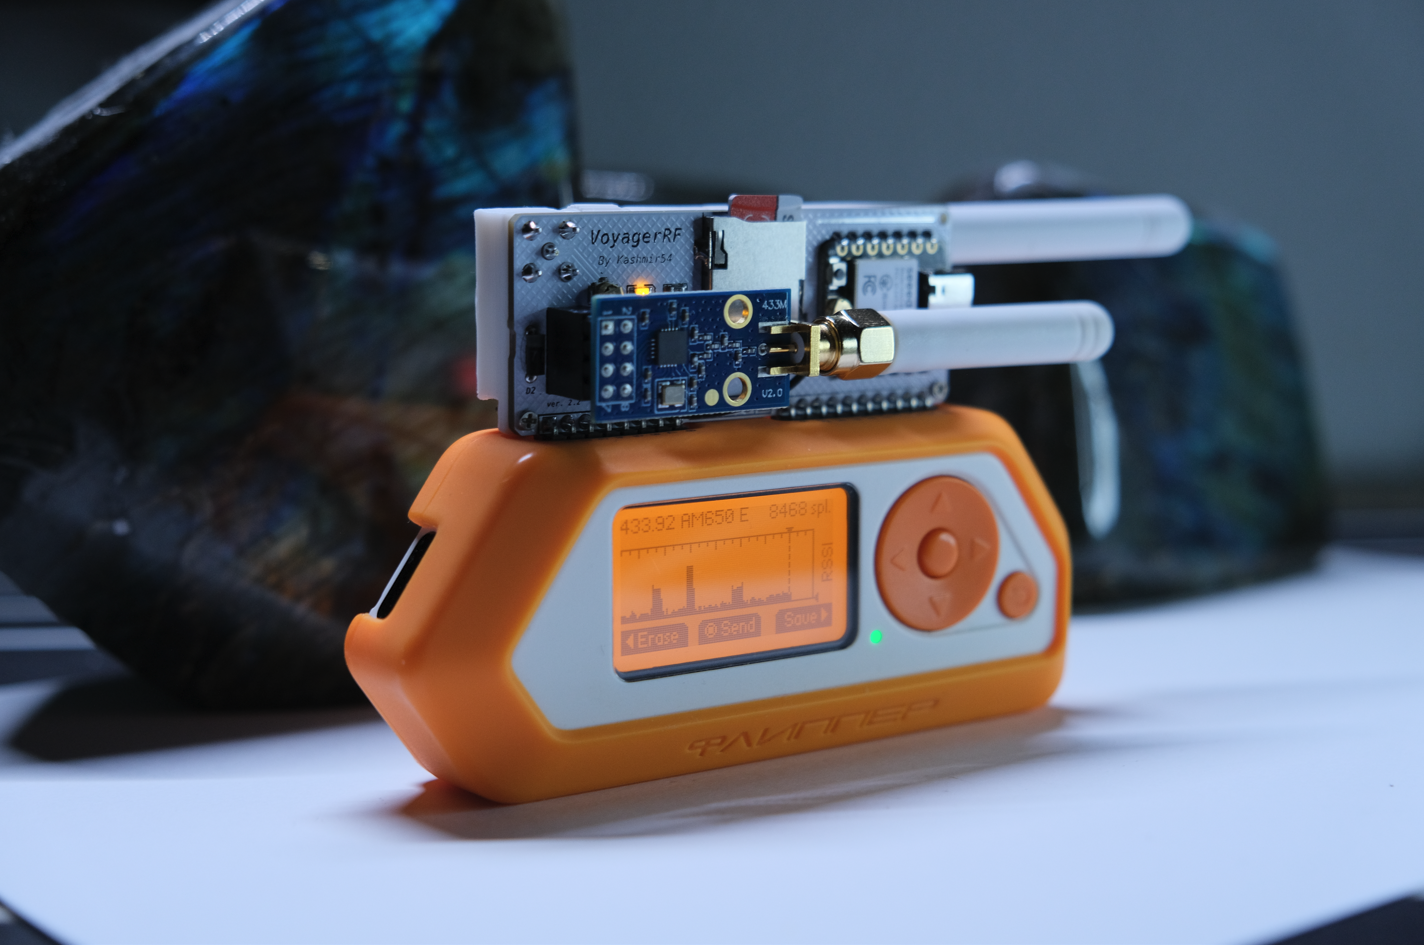
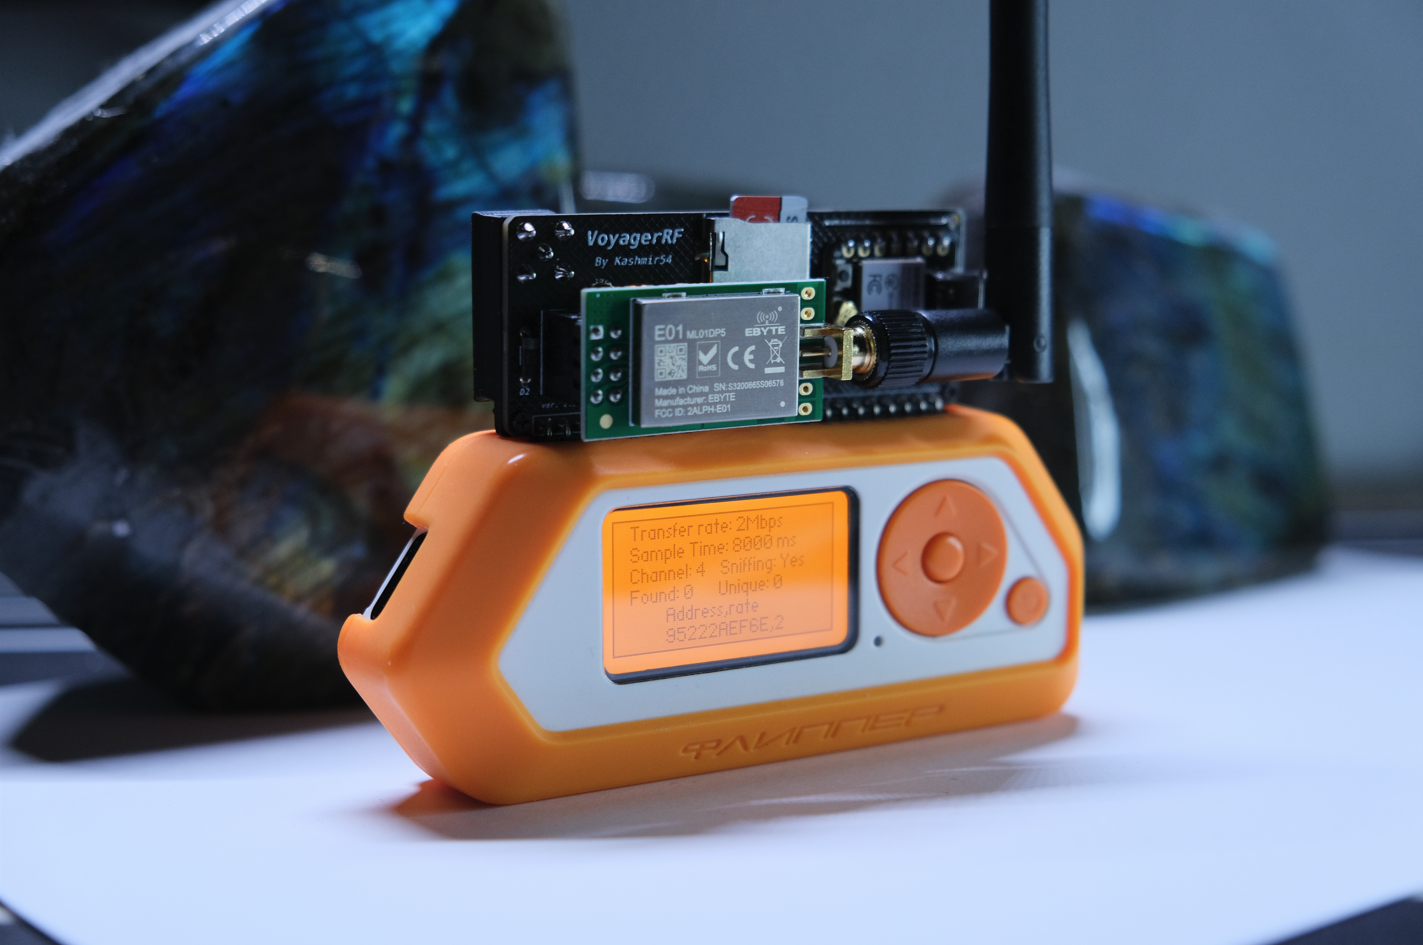
Here you have more photos with some of the other accessories (CC1101 and nRF24):
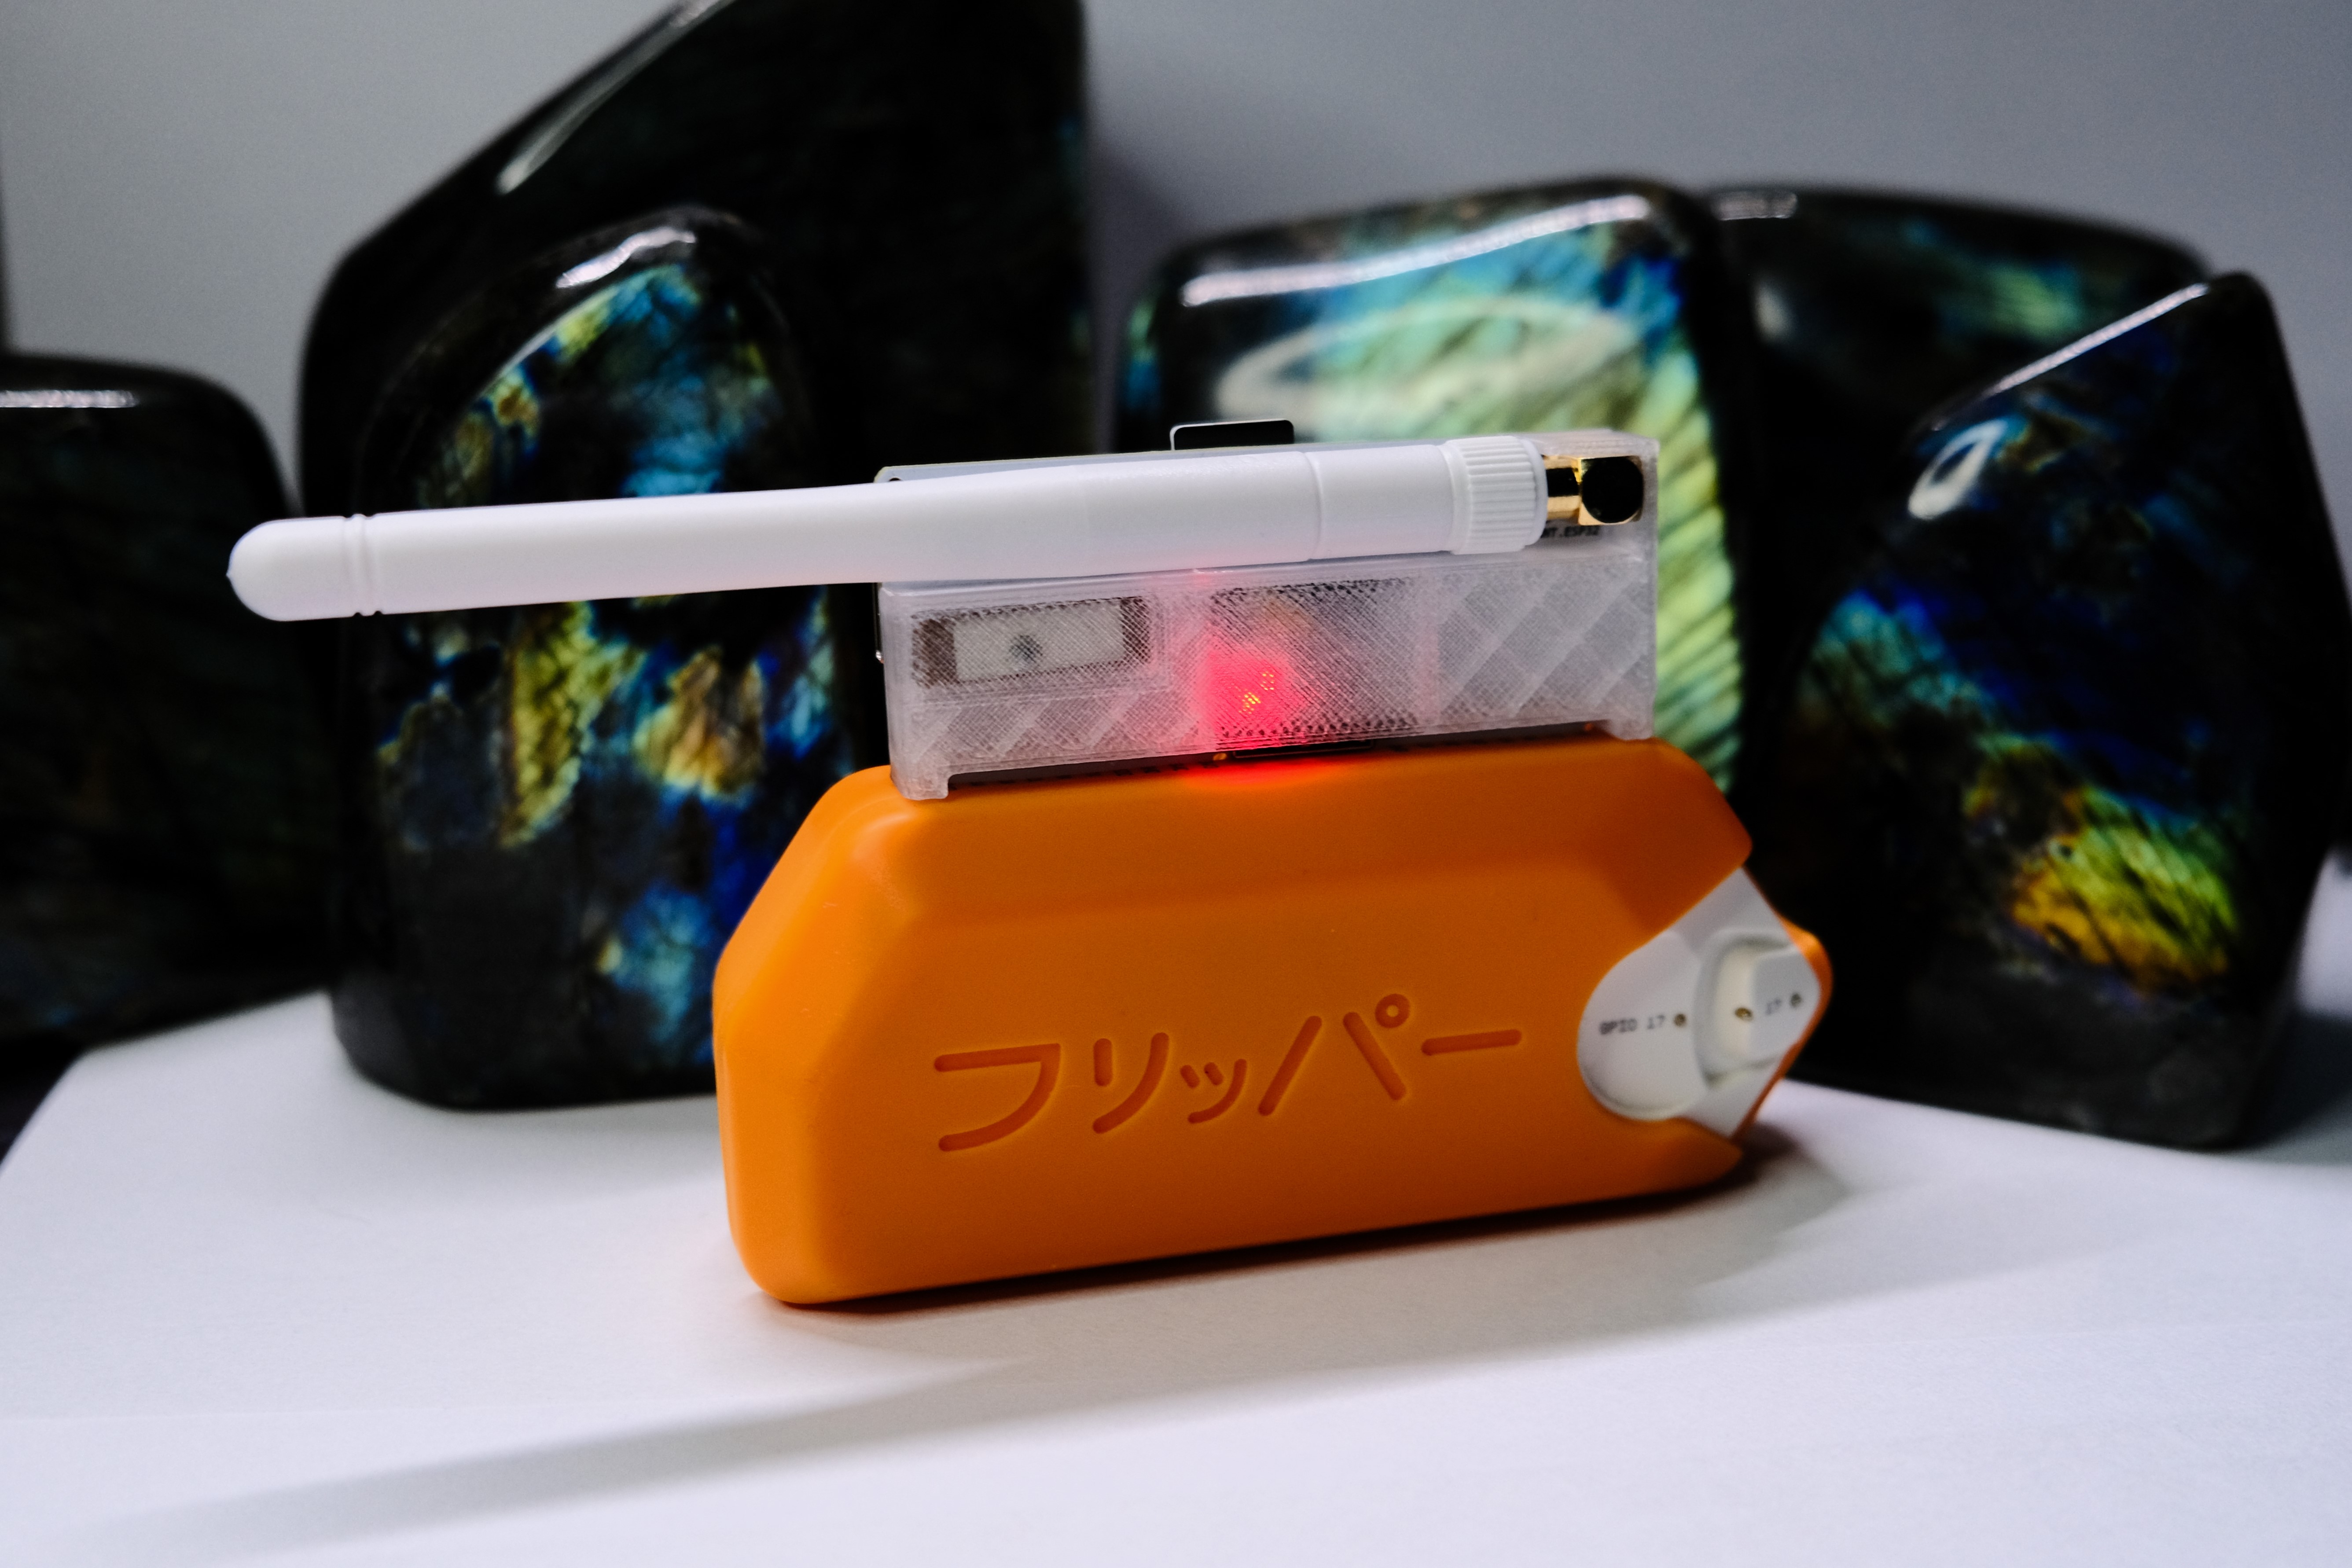
Front:
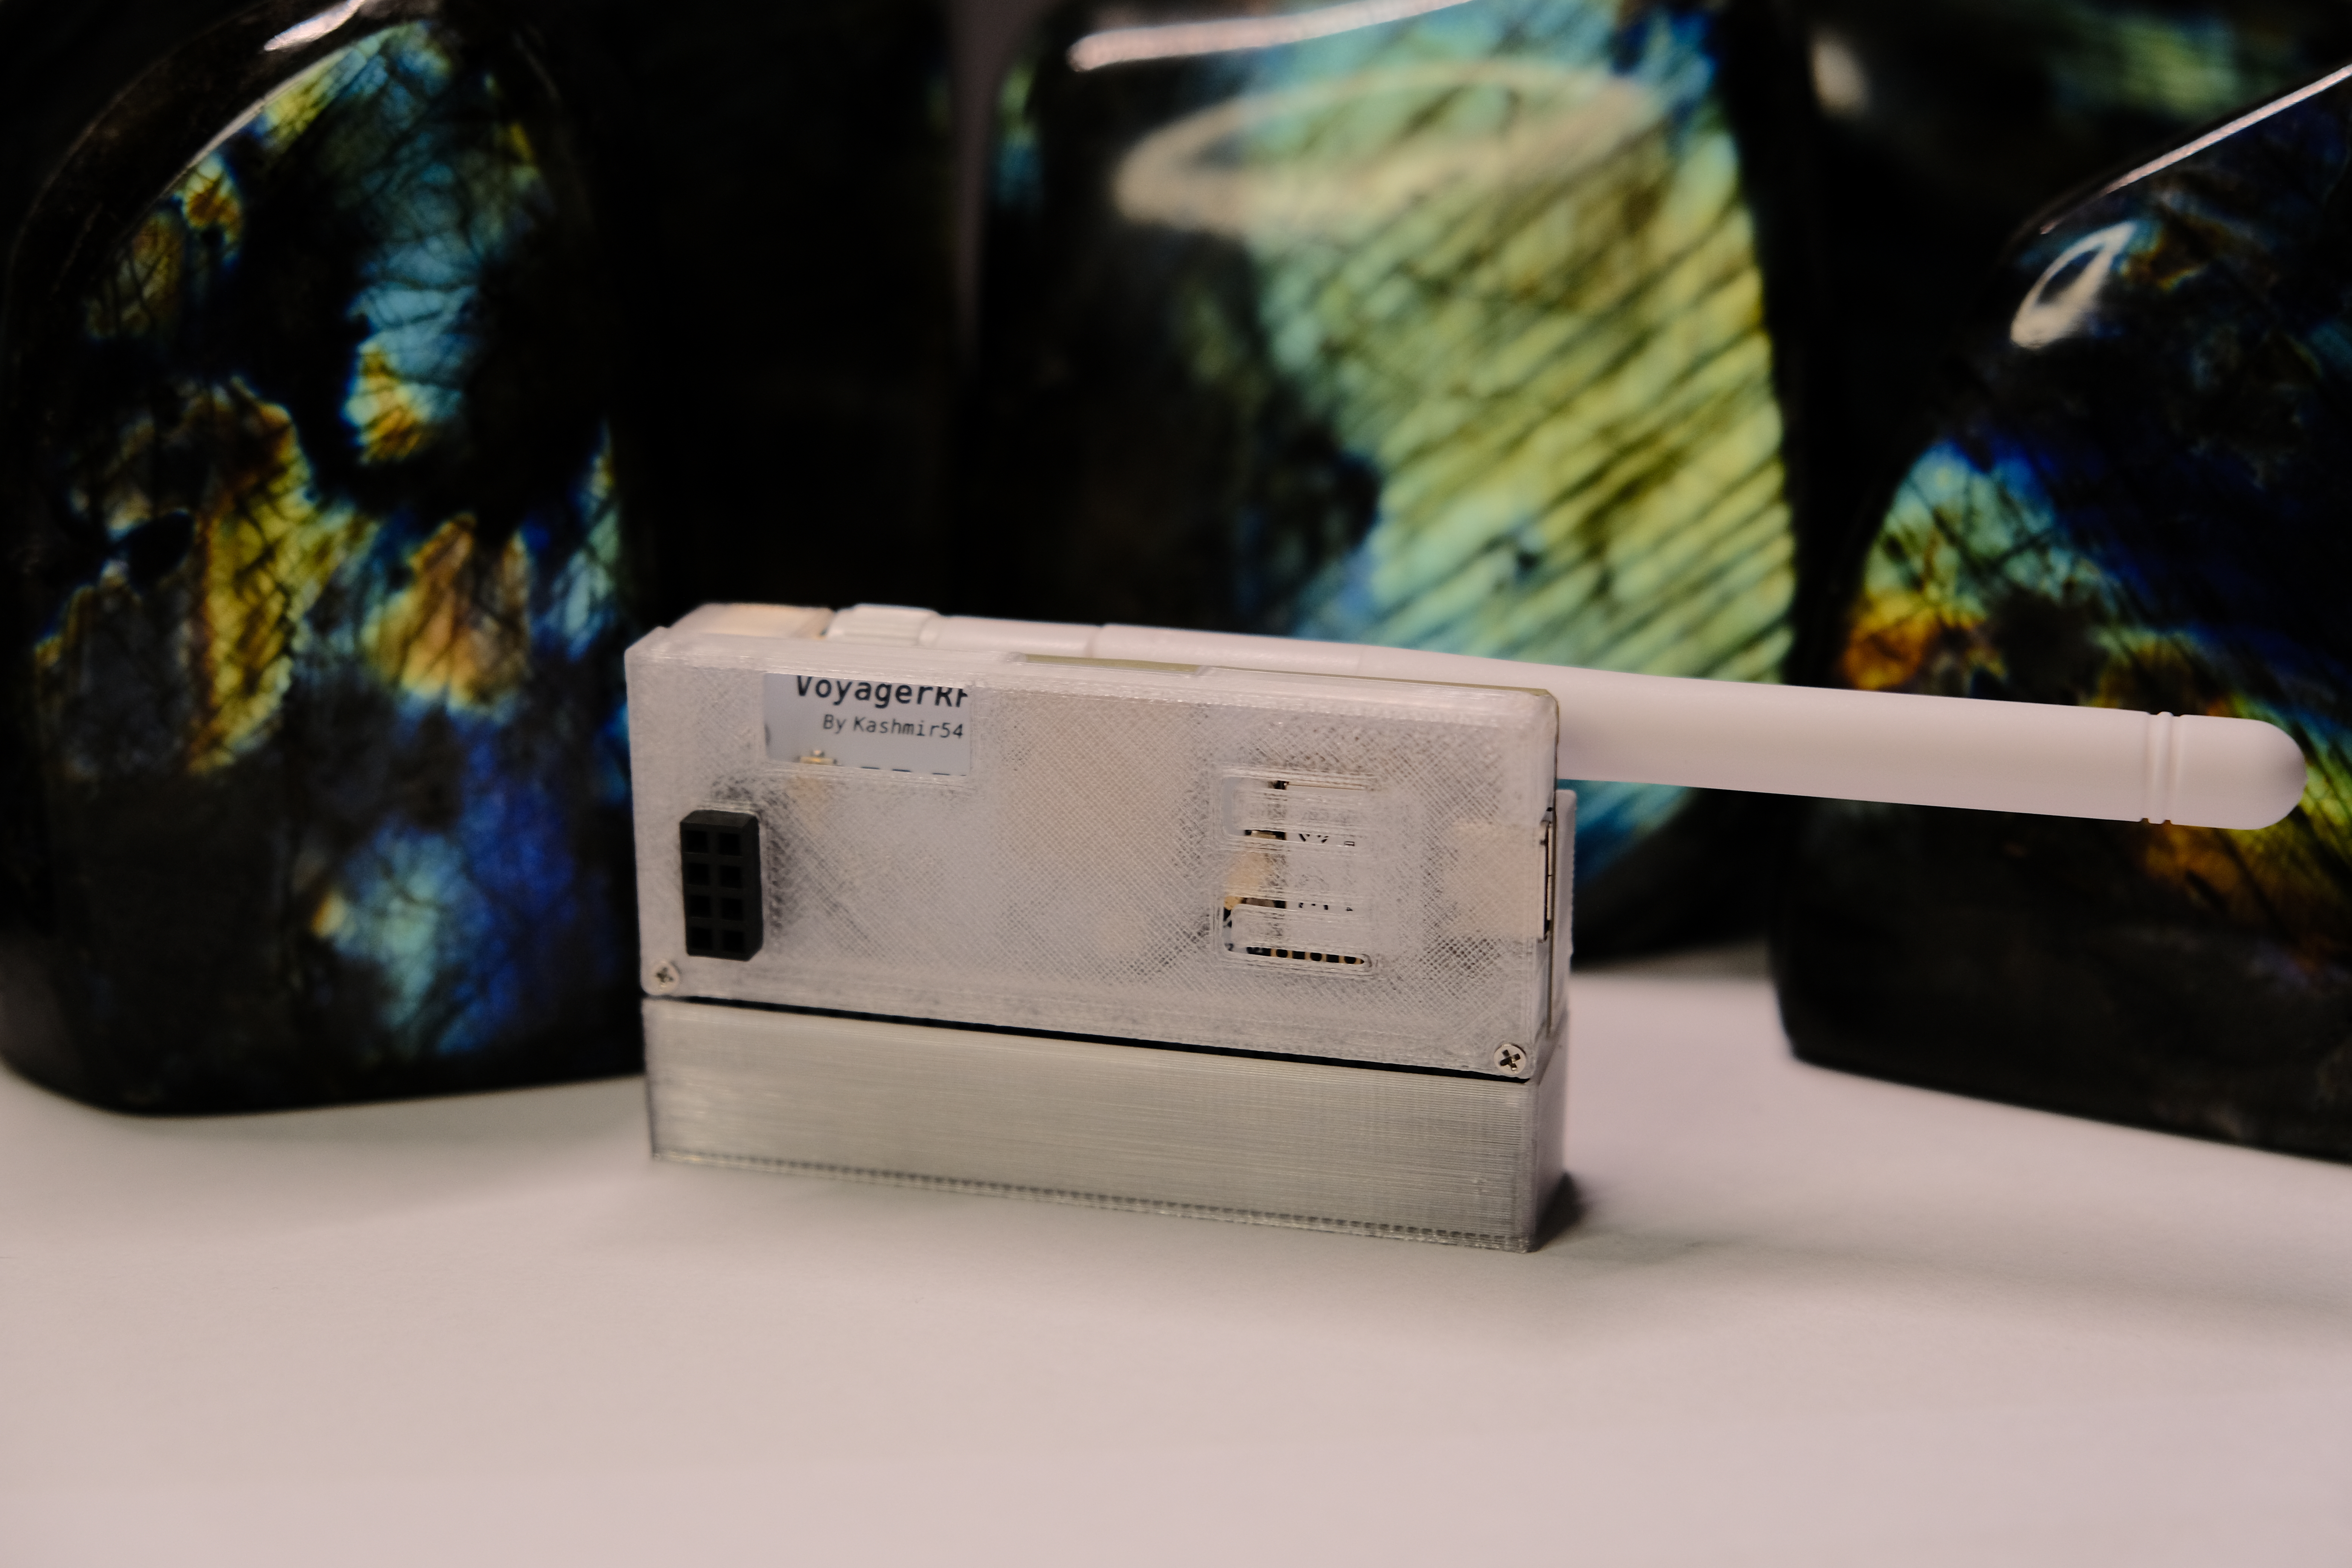
Back with translucent case:
With nRF24 connected:
With CC1101 connected:
Bundles and Boards
If you are interested in getting the board and other accessories cheaper, you can contact me on my email kashmir_54@hotmail.com and I will get back to you!
VoyagerRFv2 Complete Pack / 80€
Available in black or white. Antennas can be black or white, as you prefer.
Includes:
- VoyagerRFv2 board with latest Marauder Firmware preinstalled. If you want Ghost_ESP instead, let me know.
- Front + back + base PLA+/PETG case (let me know the color on the email! black, white, translucent, lime green, light orange)
- 3dBi Omni Antenna (2.4GHz)
- 3dBi Helical Antenna (433Mhz)
- Ebyte E07-M1101D-SMA (CC1101) module
- Ebyte ML01DP5 (NRF24) module
VoyagerRFv2 / 55€
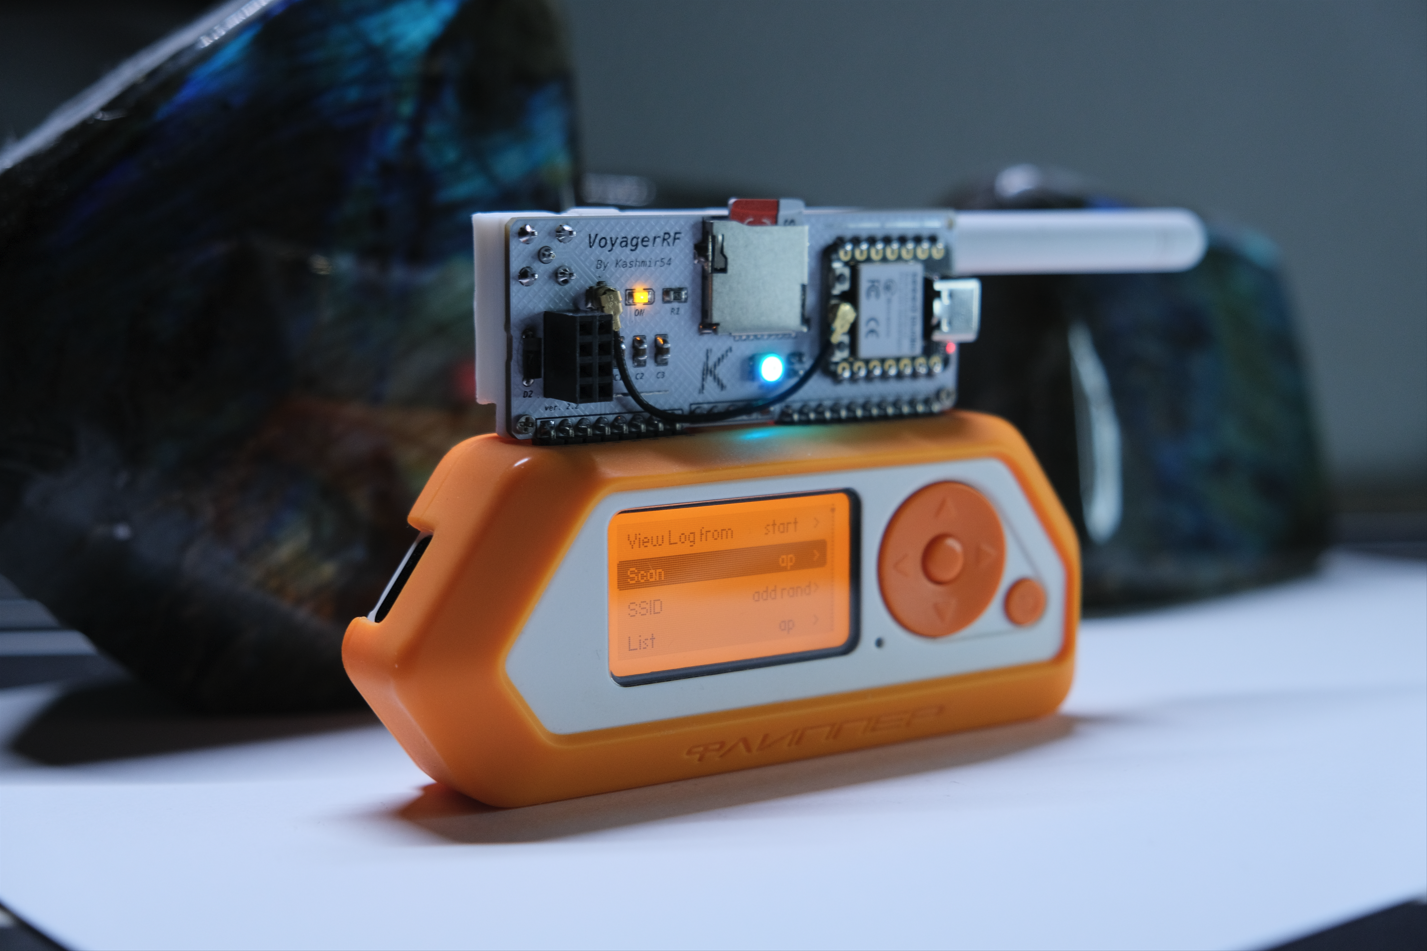
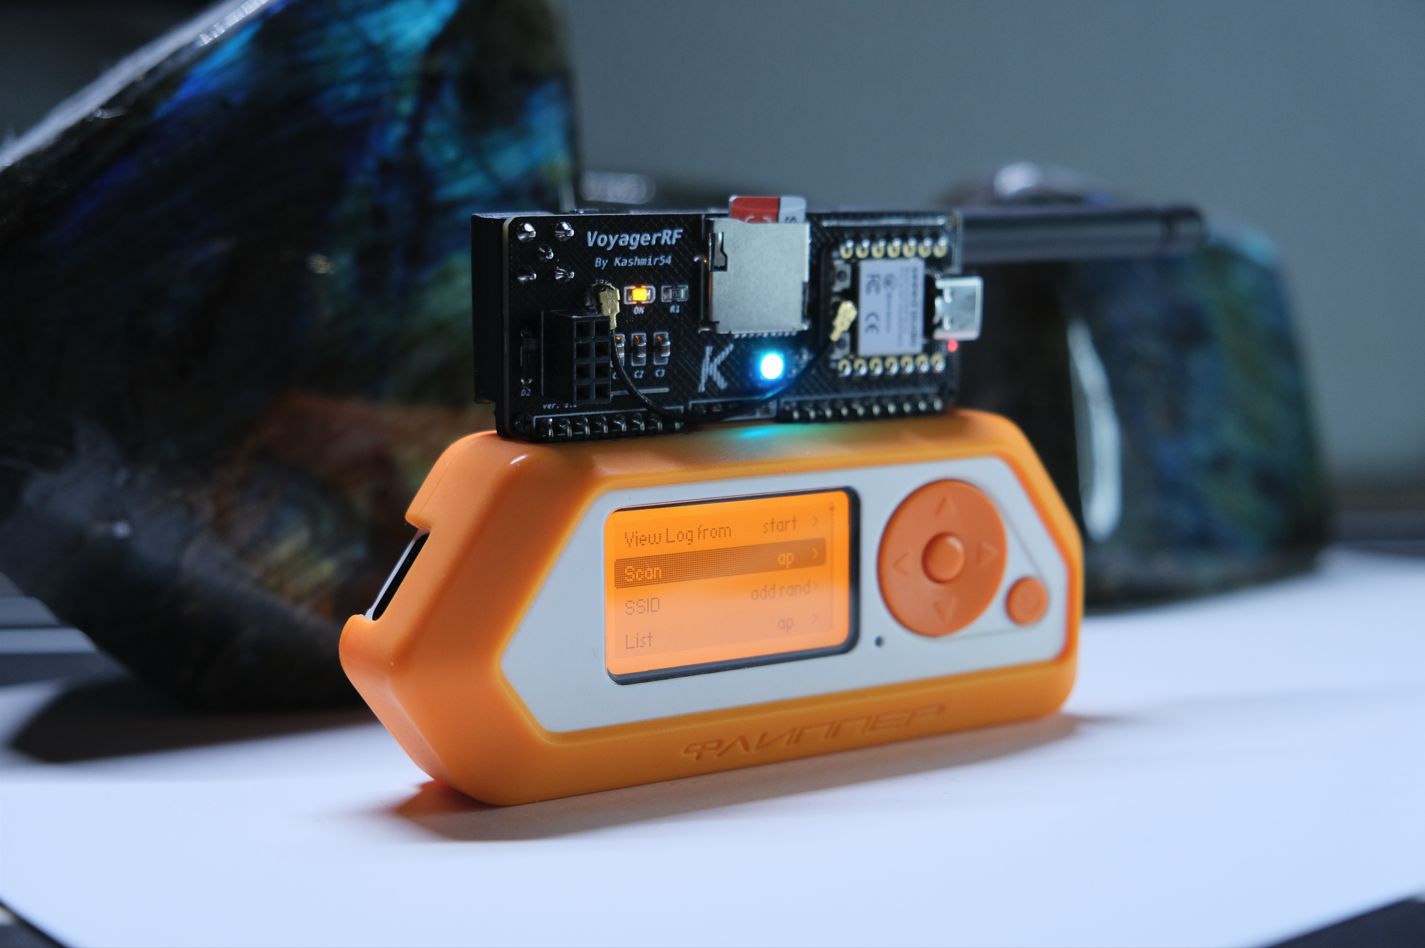
Available in black or white. The antenna can be black or white, as you prefer.
Includes:
- VoyagerRFv2 board with latest Marauder Firmware preinstalled. If you want Ghost_ESP instead, let me know.
- Front + back + base PLA+/PETG case (let me know the color on the email! black, white, translucent, lime green, light orange)
- 3dBi Omni Antenna (2.4GHz)
Extra front, back case and base / +7€
Available in black, white, lime green, light orange (PLA+) or translucent (PETG). The front case in solid colors has a small window to dim NeoPixel’s light, the translucent doesn’t have the window for better look. Also, it has two sticks that allows the user to press the Boot and Reset buttons on the ESP32C3 chip. The base comes with a foam to insert the pins and keep the board tight to the base. The screws are included with the VoyagerRF v2 and can be use with only the back case or with both.
Includes:
- Front + back case
- Standing base with high density foam
3D case files
You can download the STL for the cases and the base here:
| Part | File |
|---|---|
| Front | v2_Front_Case.stl |
| Back | v2_Back_Case.stl |
| Tight Base | v2_TightBase.stl |
To mount it you will need:
- 2x M1.4 screws (10mm or 12mm long)
- 2x M1.4 Brass Insert Nuts
Tutorials
You can use the tutorials for the VoyagerRFv1! Still, I will post here how to update the board with the web flasher.
Wardriving with Marauder
For wardriving, the best workflow is to be on outdoors with a clear view of the sky, and enter the ESP32 WiFi Marauder app. The GPS needs time to pick up satellites and it takes some time to pick them up. Time depends on the atmosphere, the staellite constelation and other factors, from experience it takes from 30 seconds up to 2 minutes with clear sky outdoors. Within buildings, you will find issues due to the bouncing pulses.
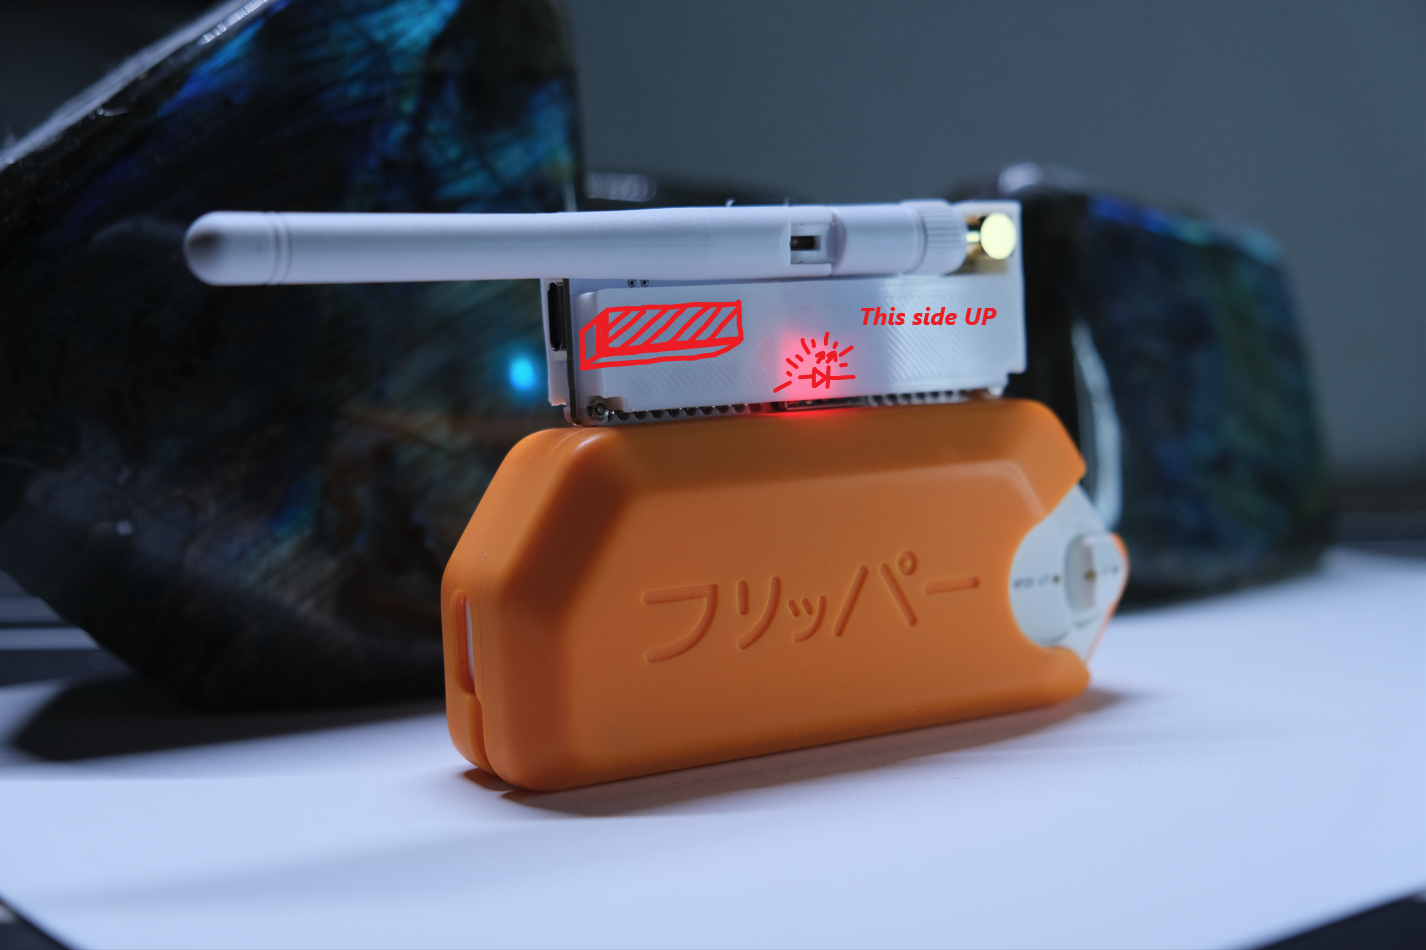
Keep the flipper with the screen facing the floor so the GPS antenna points to the sky. Once it gets enought satellites, the red led behind the board will slowly flash, indicating that the GPS module is ready to use. Then you can hold the flipper as you want, the localtion will work even if the antena is not facing the sky.
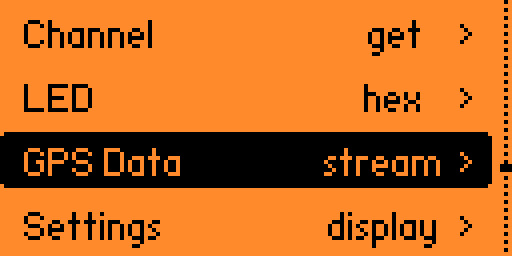
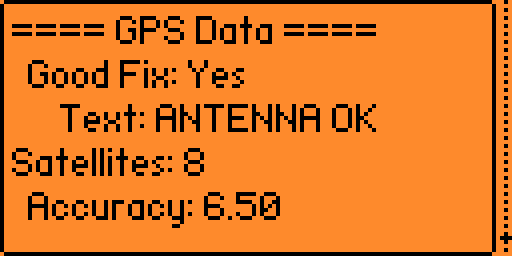
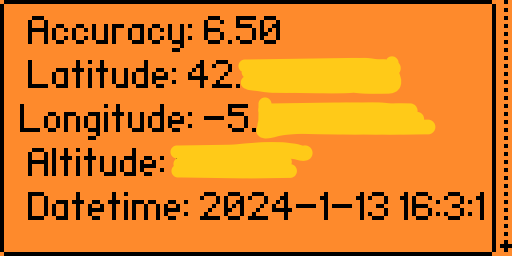
You can check it in the GPS: stream option in Marauder menu:
Troubleshooting
- Wardriving is not working / no GPS data is displayed
GPS is afected by weather, buildings, etc. Best option to pick up satellites is to keep the flipper horizontally so the GPS antena aims to the sky. Stay outdoors and wait for the module to pick satellites.
- I hit scan or other commands in ESP32 Wifi Marauder Companion and I get no output or I get a “Press BACK to send stopscan”:
Make sure you have the board fully connected into the flipper. Go to the menu and enter the Marauder app again.
Make sure you have enough battery in the Flipper.
Hit the reset button (the one in the bottom of the board).
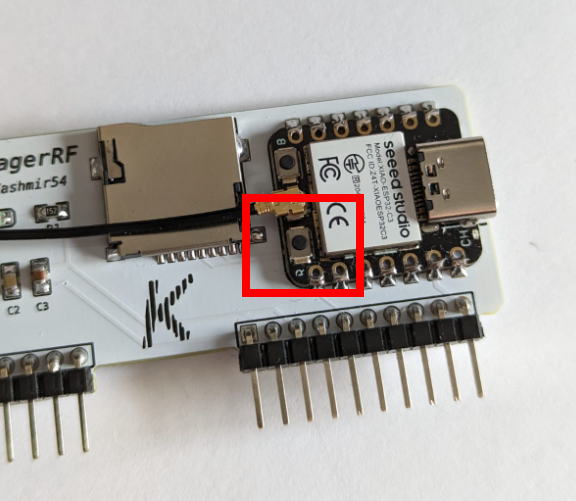
- The micro SD card is connected to the VoyagerRF, but no pcaps are being saved:
Make sure to use 32GB or less MicroSD card, FAT32 file format and avoid using SanDisk brand (awkward, but the brand counts).
Connect the SD card before entering the ESP32 WiFi Marauder app.
- Please, if you have other issues, contact me on my email.
Thank you for reading and for your interest in the board. I hope you enjoyed this project as much as I did!


